

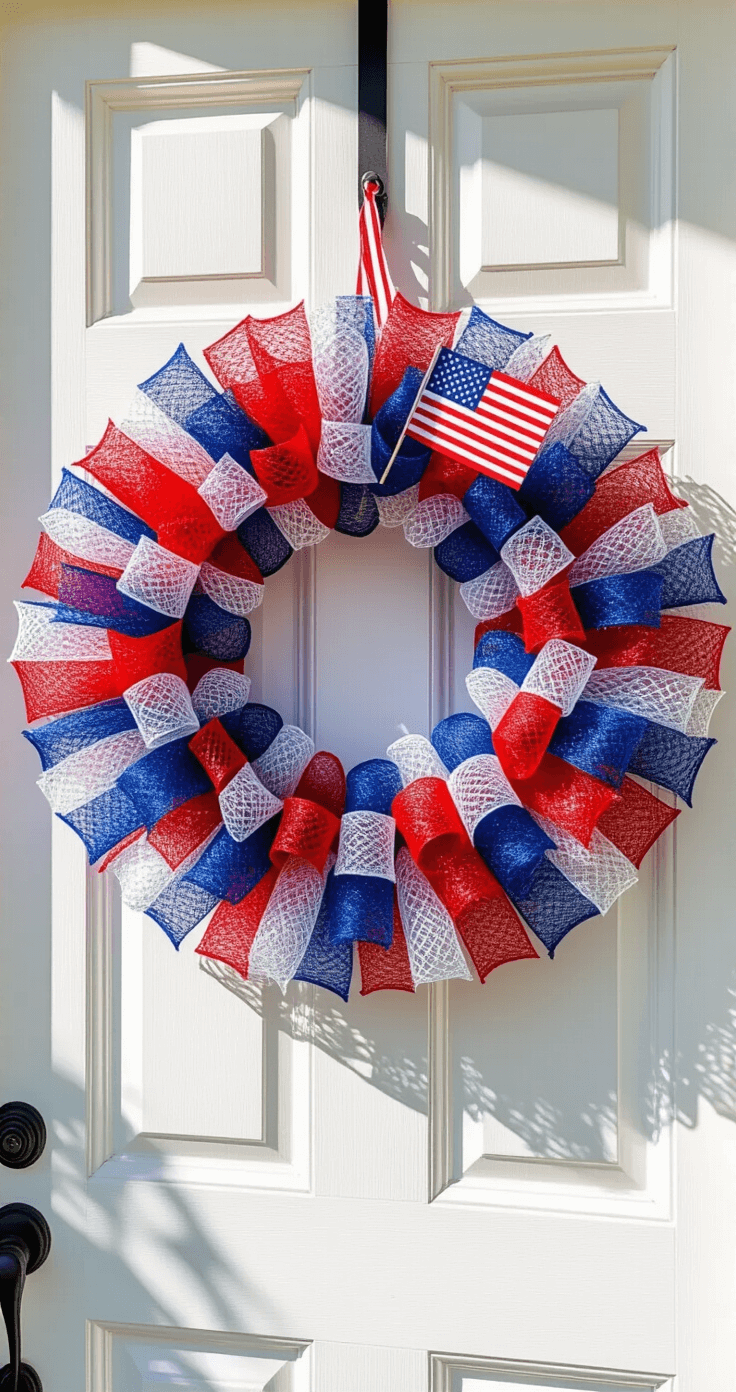
Deco mesh wreaths transformed my front door from boring to brilliant, and I’m about to show you exactly how to make your own.
I stood in my local craft store three years ago, completely intimidated by the explosion of colorful mesh rolls staring back at me. Fast forward to today, and I’ve made over 50 wreaths for my home, friends, and even a few local businesses.
Here’s everything I wish someone had told me when I started.

What Exactly Are We Talking About Here?
Contents
Deco mesh is that shimmery, flexible fabric that looks like fancy netting rolled into tubes. When you scrunch it, twist it, or loop it onto a wire frame, it creates those gorgeous, full wreaths you see on Pinterest and your neighbor’s door.
The beauty is in its forgiveness. Mess up? Just untwist and start over. No glue guns burning your fingers, no permanent mistakes.
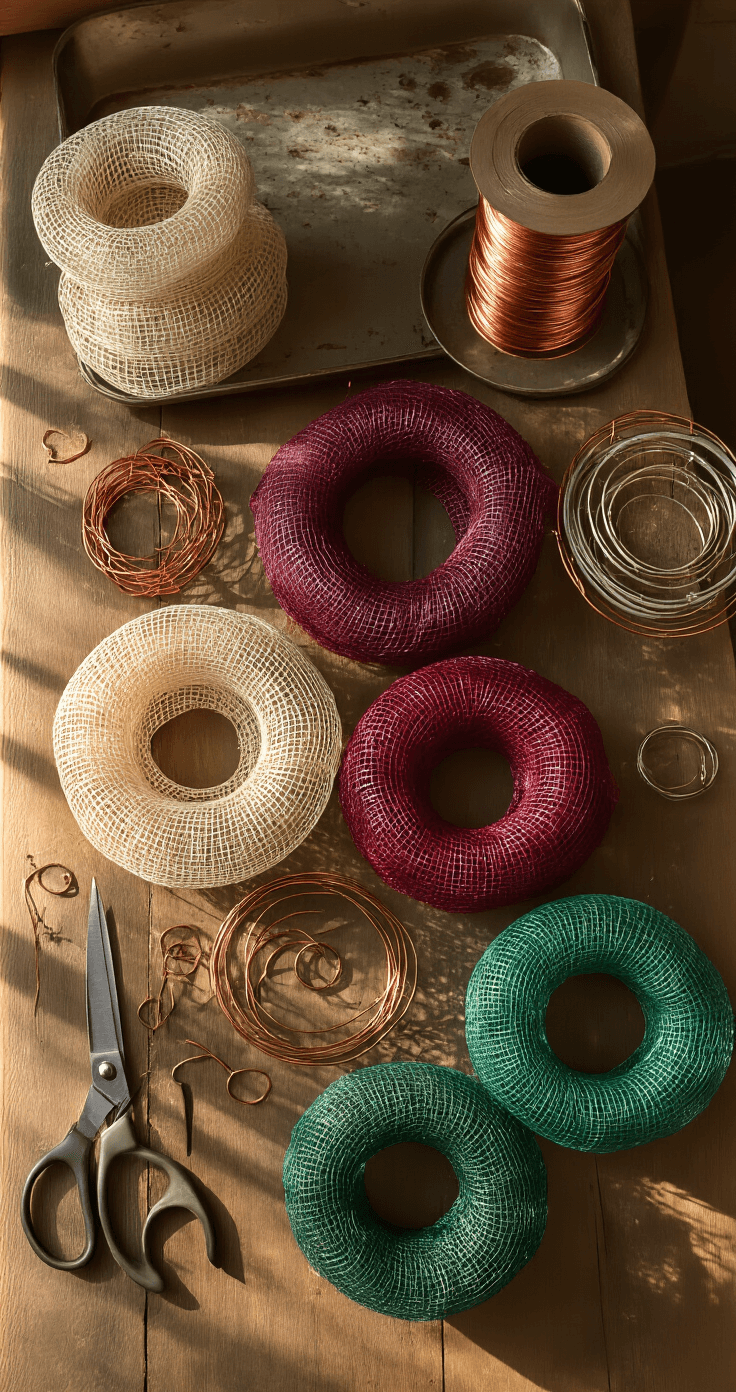
Let’s Get Your Supplies Sorted
I learned the hard way that having the right stuff matters.
The Non-Negotiables:
- Wire wreath frame (I stick with 14-16 inch for standard doors)
- Deco mesh rolls in 10-inch width (21 feet minimum per roll)
- Pipe cleaners by the bucket load (cut them in half to save money)
- Sharp scissors or a rotary cutter if you’re fancy
The Game-Changers:
- Wired ribbon for structure and contrast
- Zip ties for securing heavier decorations
- Floral wire for the finicky bits
My first wreath cost me $8 in clearance mesh and a frame from the dollar store. It looked homemade in that “bless your heart” way. My second wreath, with proper supplies, looked like I’d paid $60 at a boutique.
Quality mesh makes that much difference.
The Techniques That Actually Matter
Forget the 47 methods floating around online. Master these core techniques and you’ll handle any wreath design.
The Poof Method: Your Foundation
This is where everyone starts, and honestly, where you should too.
Here’s how I do it:
- Cut mesh into 10-12 inch strips
- Pinch the center of each strip
- Attach to the wreath frame with a pipe cleaner
- Fluff like your life depends on it
The poof creates instant volume. I use this technique for the base layer on almost every wreath I make now.
Pro tip: Alternate your poof placement between the inner and outer rings of your frame for depth that photographs beautifully.
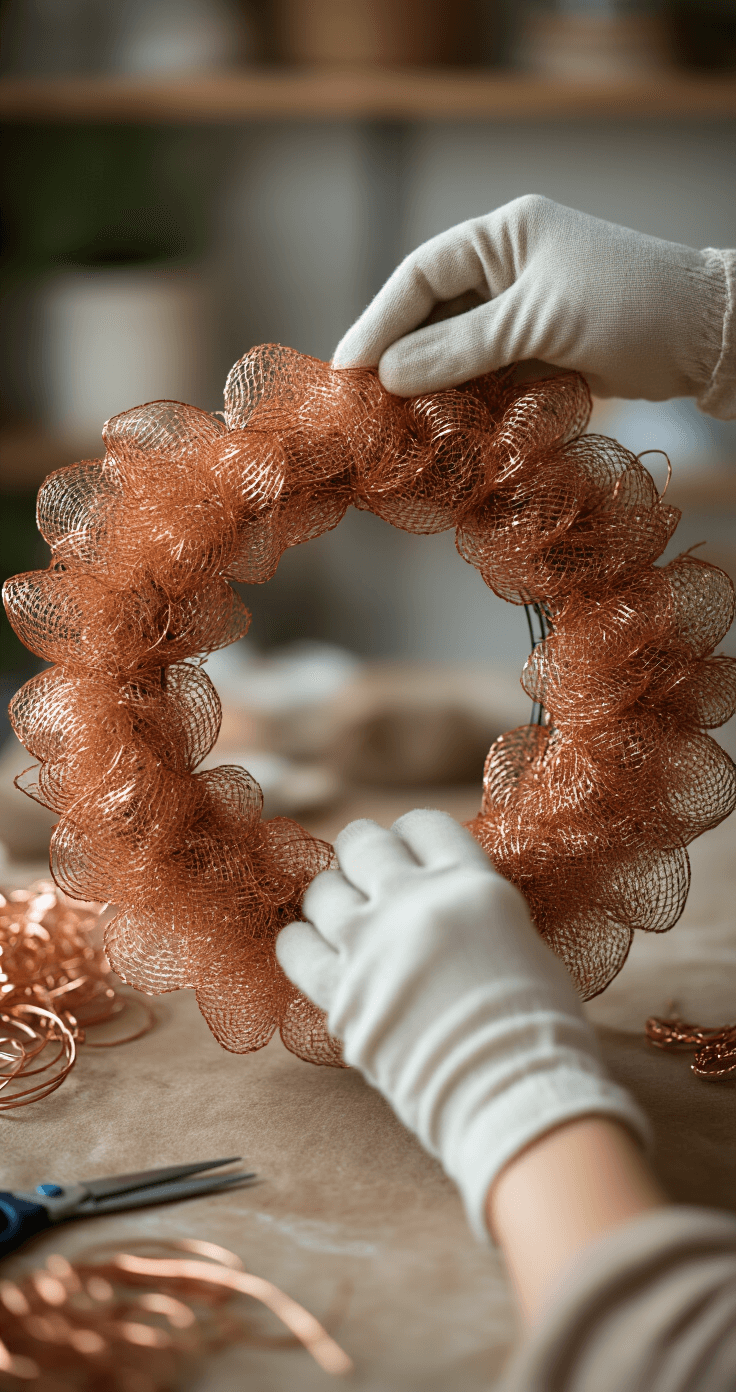
The Curl Technique: Adding Drama
This one took me three attempts to get right, but now it’s my go-to for elegant wreaths.
The process:
- Roll the mesh lengthwise into a tube
- Twist as you attach it to the frame
- Let it naturally curl and spiral
- Don’t fight the mesh—it knows what it wants to do
I ruined my first curl wreath by trying to force everything into perfect spirals. The mesh looked stressed and so did I.
Let it be loose and organic. Messy is actually the goal here.
The Ruffle: Texture Heaven
Want that cozy, full look that screams “I know what I’m doing”? Ruffle technique delivers every time.
My approach:
- Gather the mesh as you work
- Create small bunches instead of smooth sections
- Attach each ruffle close to the next one
- Fill until you can barely see the frame
This method eats mesh faster than the others, so budget accordingly. One 21-foot roll gives you maybe half a wreath with this technique.
Combination Techniques: Where Magic Happens
Once you’re comfortable, mix it up.
My favorite combos:
- Poof + Curl: Full but flowing
- Poof + Ruffle: Maximum volume without looking chaotic
- Curl + Loop: Modern and architectural
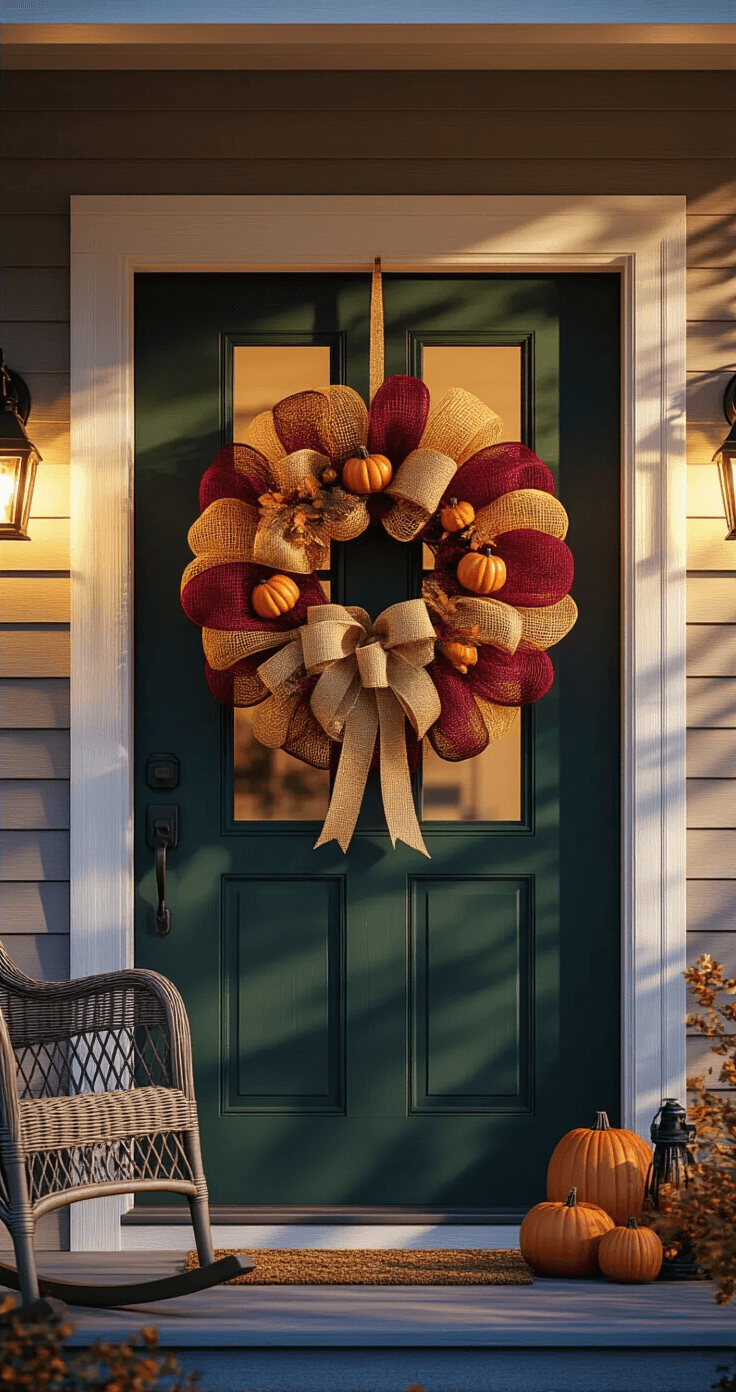
I made a fall wreath last year using poof for the base, curls for movement, and burlap ribbon woven through. People asked where I bought it.
That’s when you know you’ve nailed it.

The Mistakes I Made So You Don’t Have To
Not buying enough mesh. Nothing kills momentum like running out of materials halfway through. I now buy four 21-foot rolls minimum for a full wreath.
Using cheap pipe cleaners. They break, they rust, they fail you during the final fluff. Spend the extra $2 on decent ones.
Skipping the fluff step. Your wreath will look flat and sad. Fluff every single section like you’re prepping the world’s fanciest pillow.
Overcomplicating the design. Three colors maximum. One or two ribbon types. A single focal decoration.
More isn’t better—it’s just more.
This post may contain affiliate links. Please see my disclosure policy for details.


