Primitive Easter Decor: Creating Timeless Rustic Charm Without Breaking the Bank
Contents
- Primitive Easter Decor: Creating Timeless Rustic Charm Without Breaking the Bank
- Why Primitive Easter Decor Actually Works (When Modern Stuff Falls Flat)
- What You’ll Actually Need (And What You Can Skip)
- The Core Pieces That Make Everything Work
- Your Foundation Pieces
- The Supporting Cast
- The Details That Elevate
- Building Your First Display (Without Overthinking It)
- Step 1: Prep Your Space
- Step 2: Position Your Hero Piece
- Step 3: Add Your Base Layer
- Step 4: Build Vertical Interest
Primitive Easter decor brings me straight back to my grandmother’s farmhouse table every spring morning.
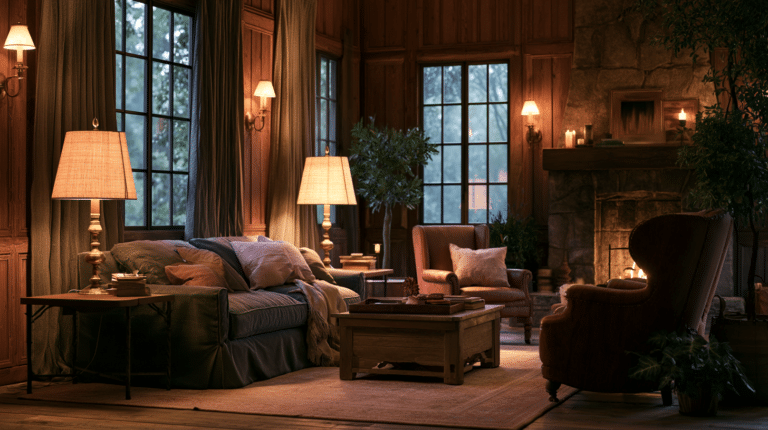
You know that feeling when you walk into a space and it just feels right? That’s what happens when you strip away the plastic bunnies and neon eggs and get back to basics. I’m talking moss, wood, burlap, and those beautiful imperfections that make a home feel lived-in rather than staged.
Let me show you exactly how I create these displays without spending hours or draining my wallet.

Why Primitive Easter Decor Actually Works (When Modern Stuff Falls Flat)
Modern Easter decorations scream at you from every Target aisle. Primitive decor whispers.
I learned this the hard way after years of buying shiny new pieces that looked gorgeous in the store and utterly soulless on my dining table.
Here’s what makes primitive styling different:
- Every piece tells a story (even if you found it in your backyard yesterday)
- Imperfections become features, not flaws
- Natural materials age beautifully instead of looking dated next season
- Your budget stretches further because nature provides half your supplies
- The style works whether you live in a century-old farmhouse or a brand-new apartment
The best part? You don’t need a single craft gene in your body to pull this off.
What You’ll Actually Need (And What You Can Skip)
Time commitment: 1-3 hours for your initial setup, then maybe 15 minutes weekly to refresh flowers
Money: I’ve done beautiful displays for under $30 by foraging and thrifting. If you buy everything new, expect $50-150 depending on how elaborate you go.
Space: Works anywhere—I’ve styled primitive Easter decor on tiny apartment entryway tables and sprawling farmhouse sideboards.
Skill level: If you can arrange flowers in a vase, you’ve got this.
The Core Pieces That Make Everything Work
Start with these hero items and you’re already 80% done.
Your Foundation Pieces
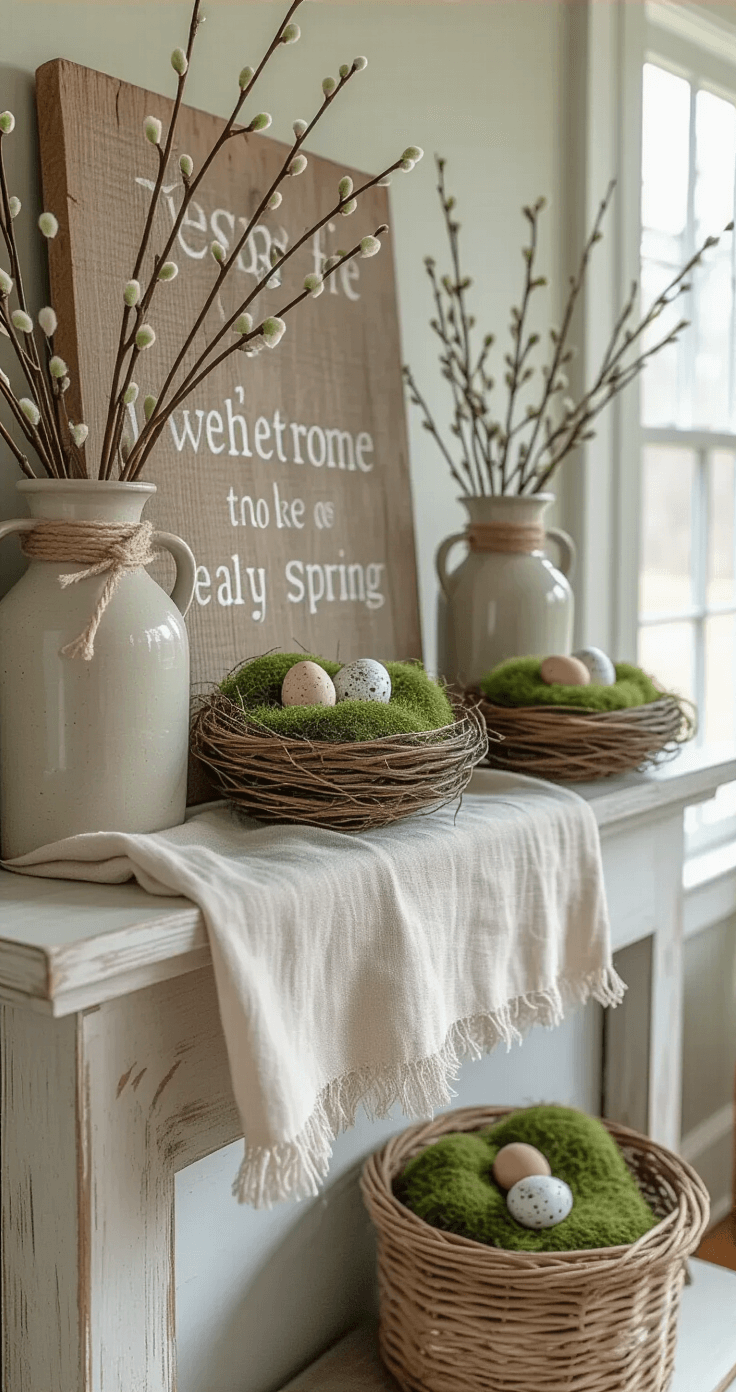
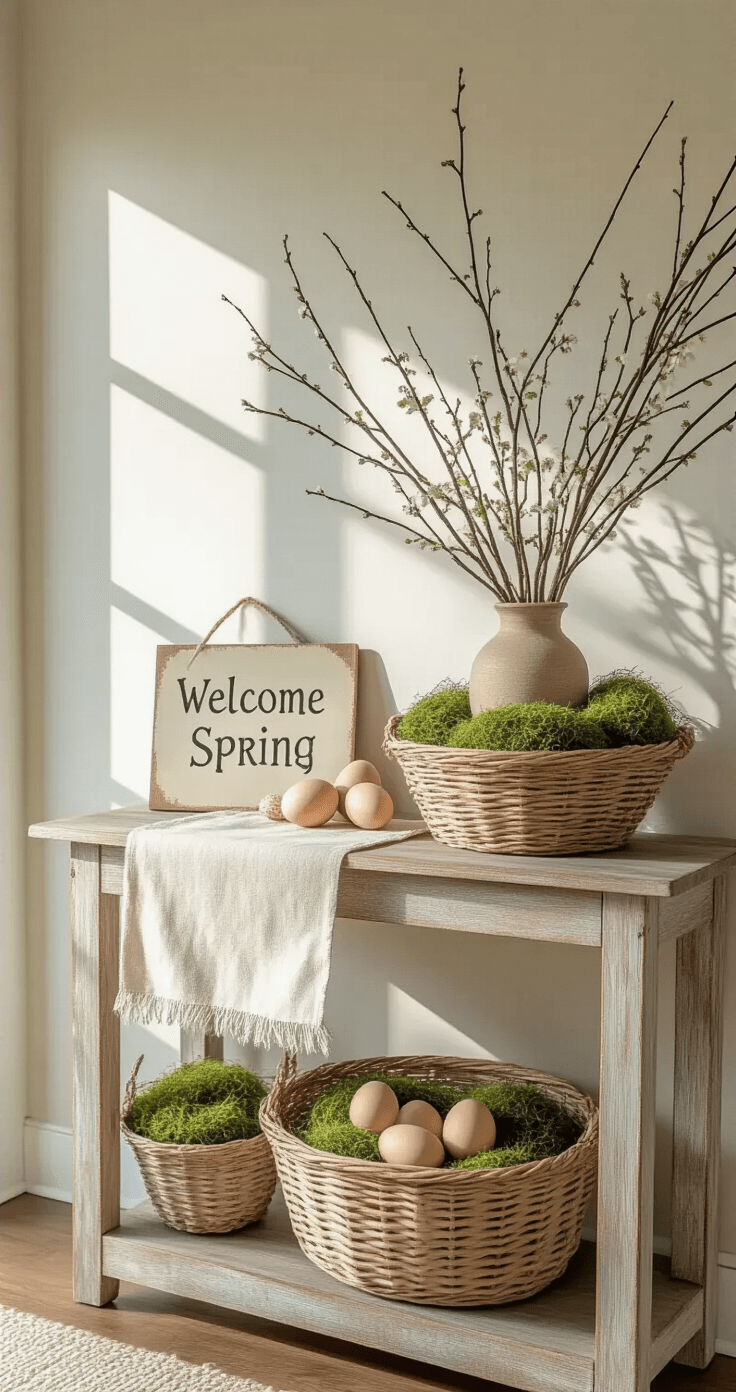
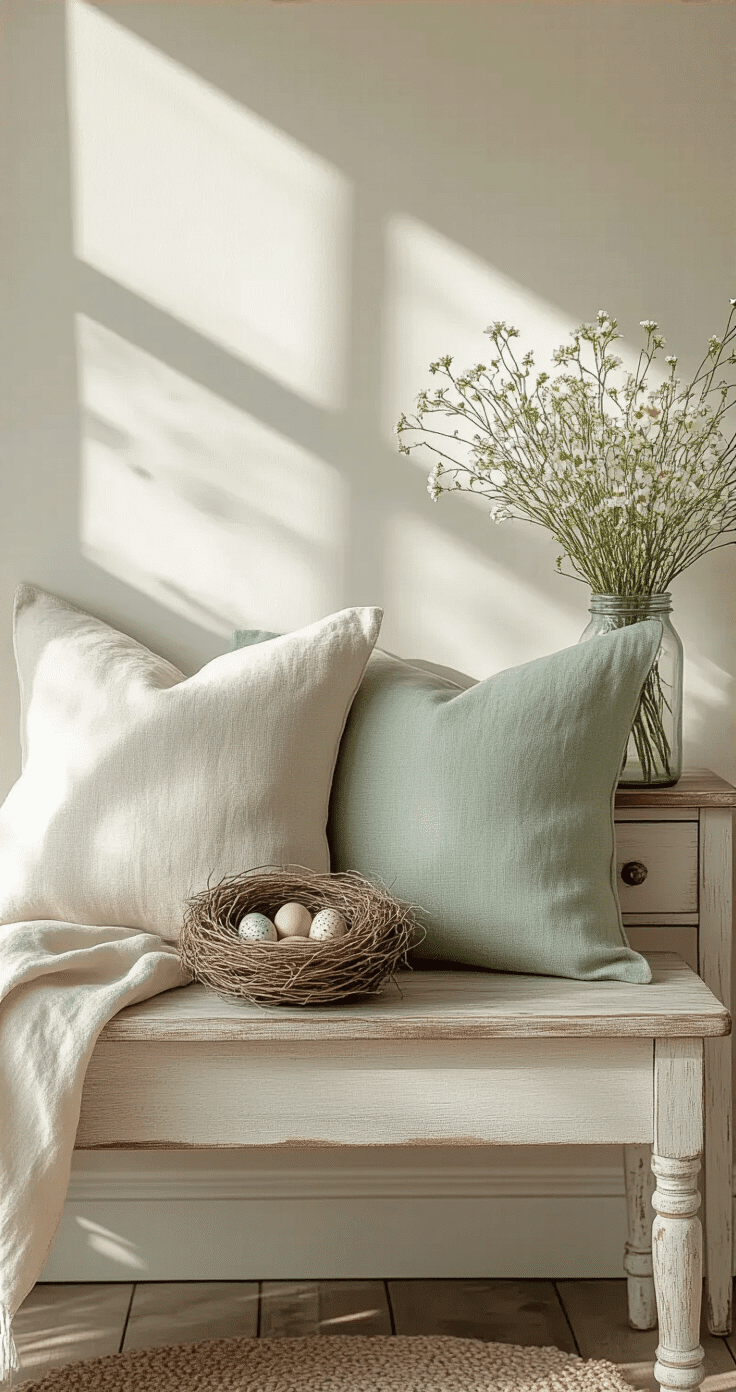
Rustic woven baskets become your anchor. I look for shallow, weathered pieces that look like they’ve gathered eggs for decades. Grapevine works beautifully too—the more organic and irregular, the better.
Wooden eggs painted in muted sage, cream, or pale blue. Skip the glossy finish. You want that hand-painted, slightly uneven look that says “someone made this with care” not “factory line 47.”
Moss-covered nests with speckled eggs bring instant spring energy. I make these myself with Spanish moss from craft stores and speckled eggs from thrift shops. Cost: maybe $8 total.
Primitive bunny art or weathered wood signs. Look for distressed finishes, hand-stenciled letters, and phrases like “He is risen” or simple “Spring” lettering. These lean against your display rather than hanging—much more relaxed.
The Supporting Cast
Don’t sleep on these pieces.
Vintage linens transform everything. I hunt for flour sack towels, grain sack runners, and those incredible hand-stitched doilies at estate sales. A $3 vintage towel under your centerpiece adds more character than a $40 designer table runner.
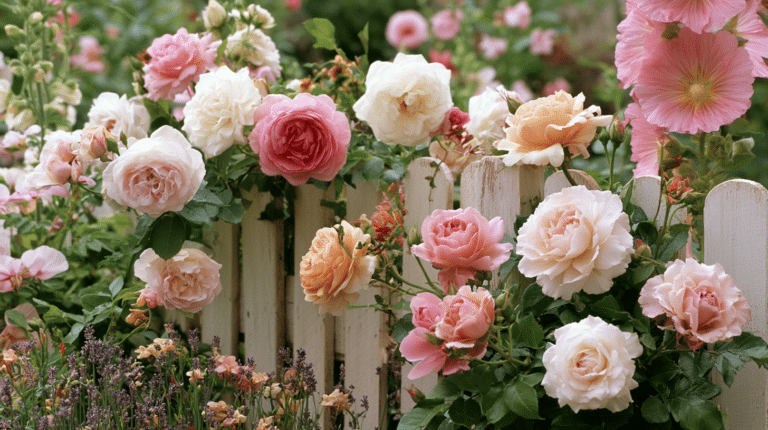
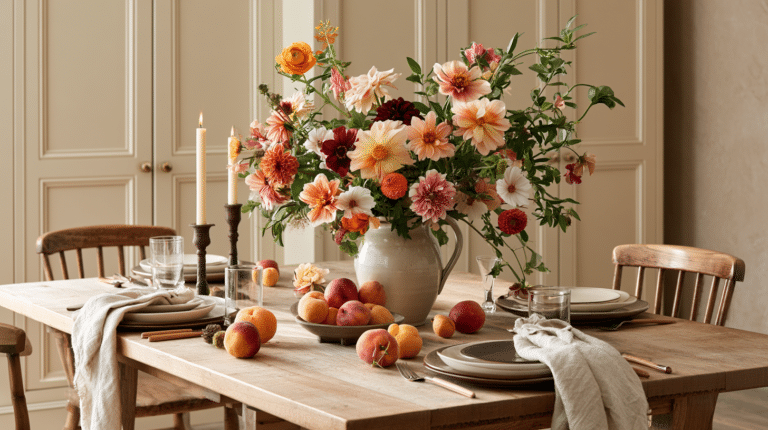
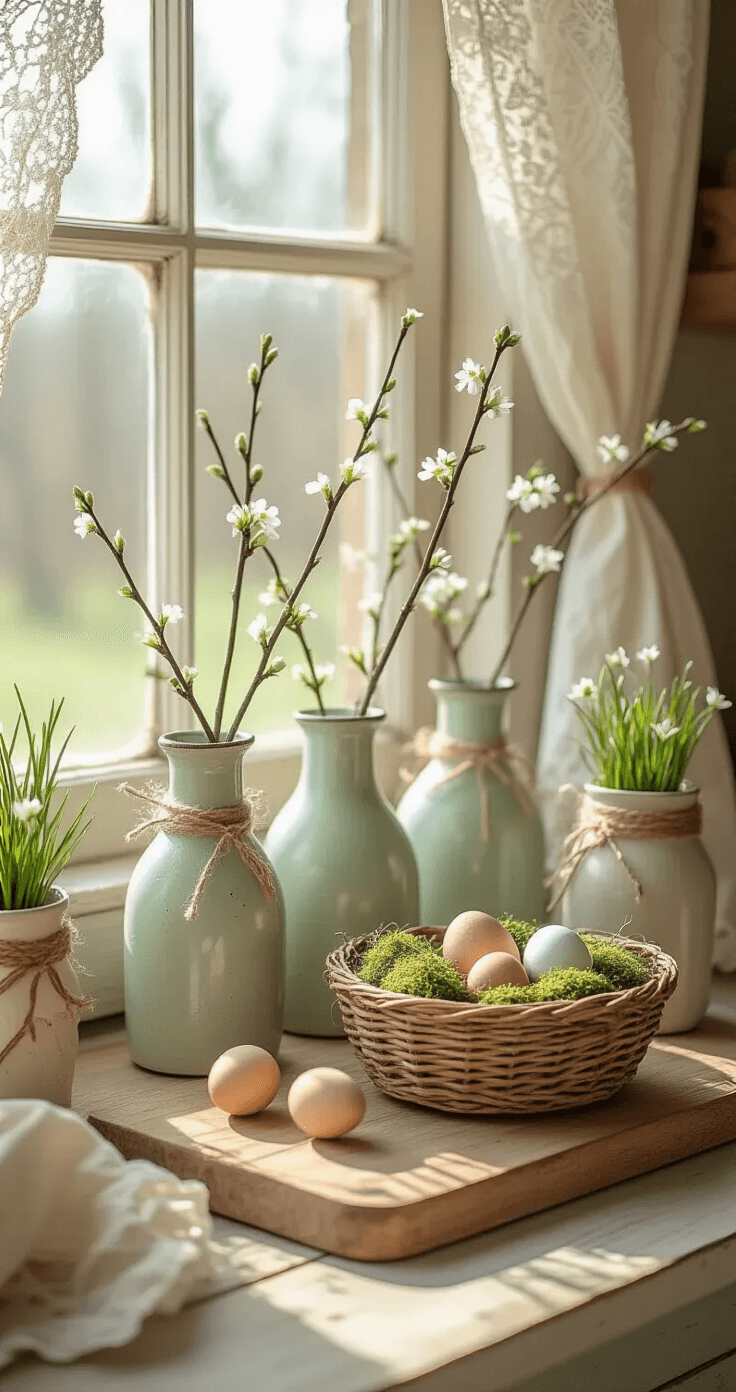
Mason jars and stoneware crocks hold your wildflower arrangements. I fill mine with pussy willows (they last forever), dried lavender, or whatever’s blooming in my yard.
Burlap anything. Runners, bunting, wrapped around candle bases—burlap reads instantly as “rustic farmhouse” to everyone’s eyes.
Eggshell vases might sound Pinterest-fussy but they’re genuinely easy. Crack eggs near the top, rinse them out, nestle them in your arrangement, add water and a single lightweight flower stem. Done.
The Details That Elevate
Pinecones in varying sizes scattered through your display add height and texture. I hot-glue small pieces of moss to their scales for extra primitive charm.
Weathered metal accents—rusty birdhouses, old watering cans, vintage candleholders. These balance the softness of linens and flowers.
Natural foraged materials cost nothing and look better than anything you’d buy. Branches, twigs, moss from your yard, interesting stones—all fair game.
Building Your First Display (Without Overthinking It)
Let me walk you through exactly what I do for a dining table centerpiece. This took me maybe an hour the first time, 20 minutes now.
Step 1: Prep Your Space
Clear your surface completely. Wipe it down. Step back and look at your space with fresh eyes. Where does light hit? What angle do people approach from? This determines where your focal point goes.
Step 2: Position Your Hero Piece
I start with my rustic basket dead center on the table. This becomes your anchor for everything else. If you’re styling a mantel or sideboard, position your largest element (maybe a weathered sign or stoneware crock arrangement) first. Everything else builds around this.
Step 3: Add Your Base Layer
Drape a vintage linen runner under your basket if you’re using one. I love how an old grain sack runner creates instant farmhouse vibes. Add some Spanish moss around the base of your basket—this hides mechanics and creates visual flow.
Step 4: Build Vertical Interest
Hot-glue pinecones of different heights together inside or near your basket. Add those miniature garden accents (tiny wheelbarrows, birdhouses, whatever speaks to you). Tuck moss pieces between pinecones. Place your eggshell vases strategically—I usually do 3 or 5, arranged in a loose triangle. Fill them with water and single flower stems from my yard. Right now I’m using tiny daffodils and wild violets.
Step 5: Layer Your Supporting
This post may contain affiliate links. Please see my disclosure policy for details.
This post may contain affiliate links. Please see my disclosure policy for details.