Painted Kitchen Cabinets: A Complete DIY Transformation Guide
Contents
Hey there, fellow home makeover enthusiast! Ready to breathe new life into your kitchen without breaking the bank? Painting kitchen cabinets is your ultimate budget-friendly magic trick.
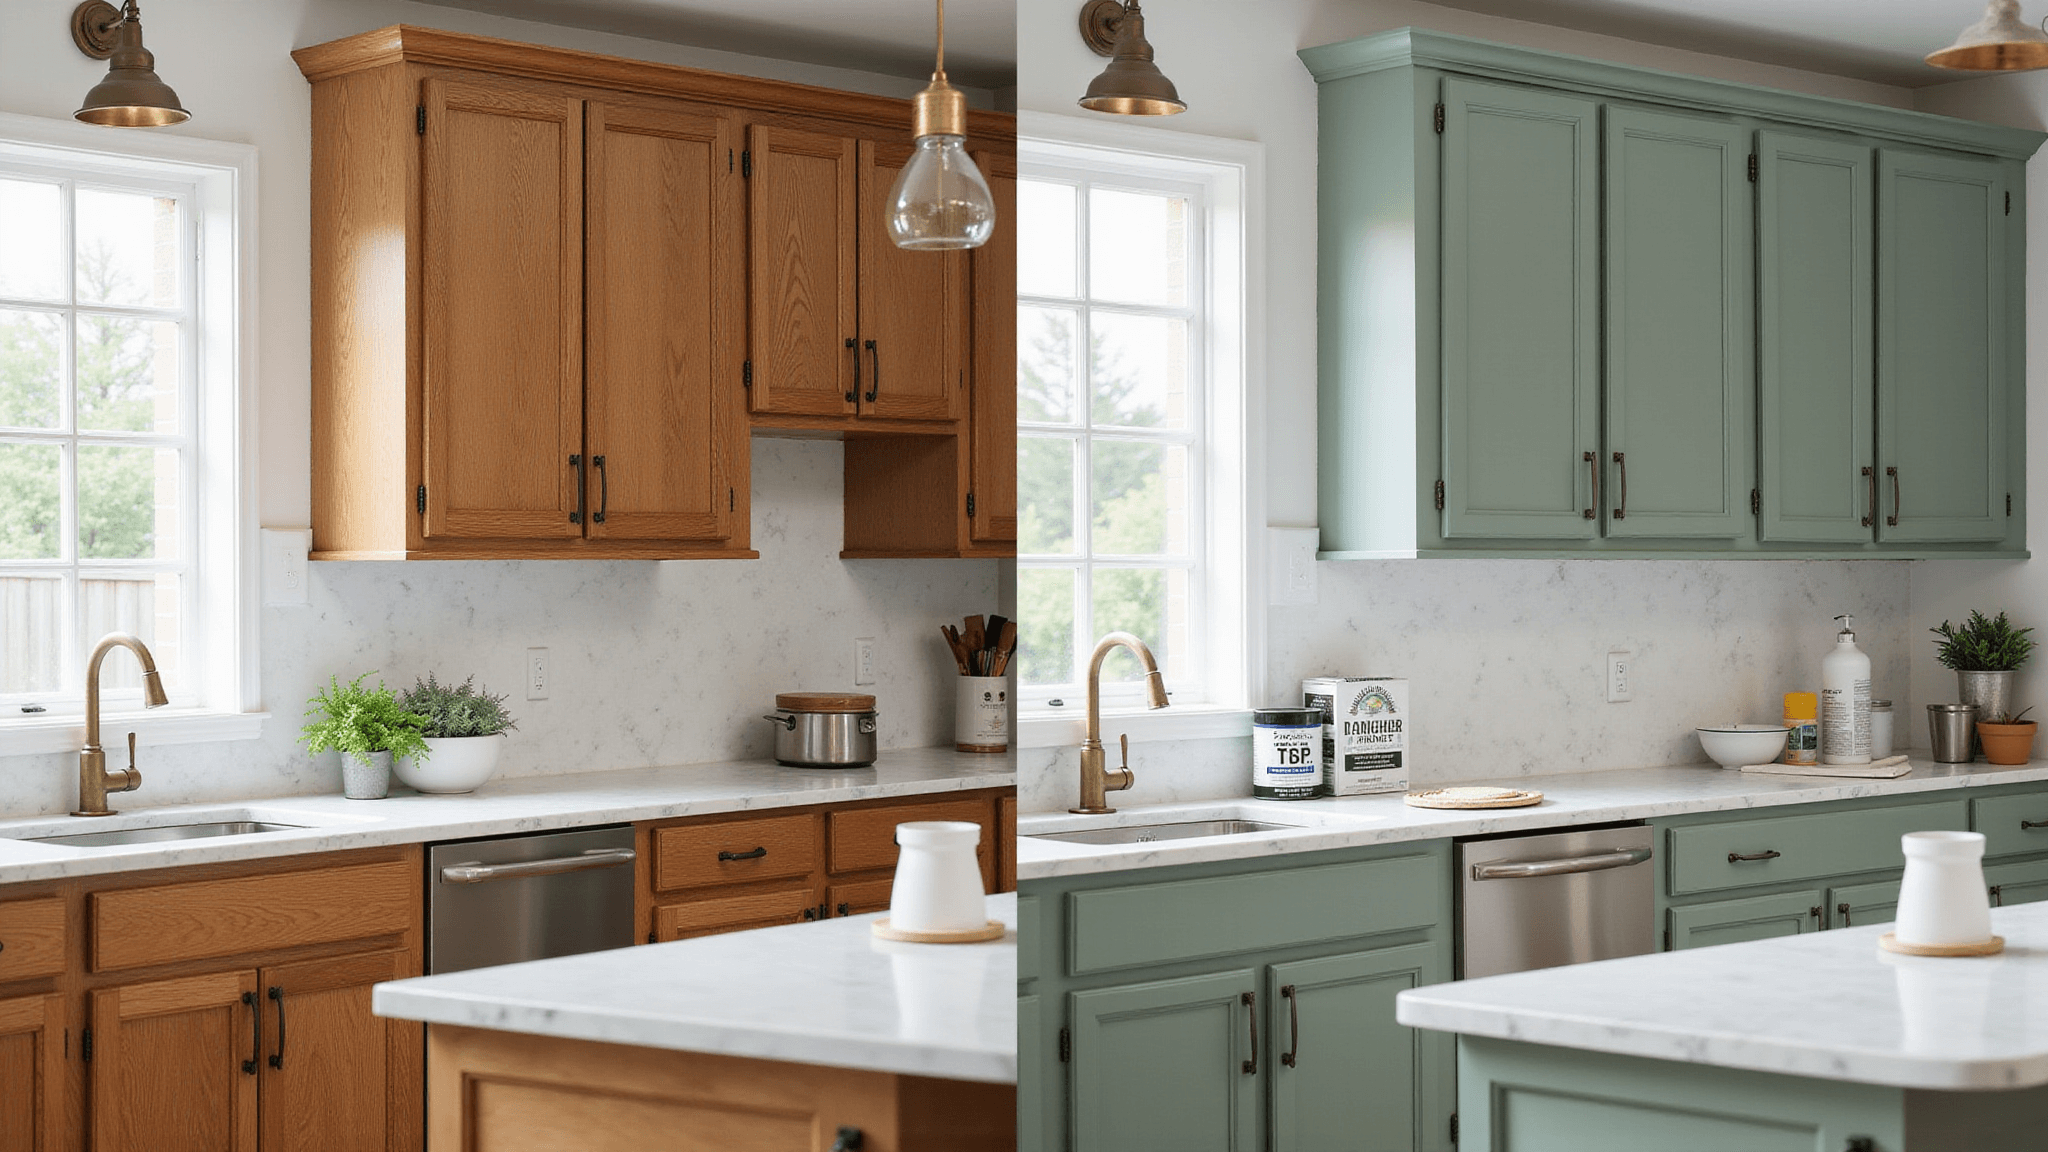
Why Paint Your Kitchen Cabinets?
Let’s cut to the chase. Replacing kitchen cabinets can cost thousands. Painting? We’re talking $150-$400 and a weekend of your time. Total game-changer.
Quick Reality Check
Before you start: This isn’t a one-hour HGTV makeover. Expect:
- 3-4 full days of work
- Intermediate DIY skills required
- Massive kitchen transformation potential

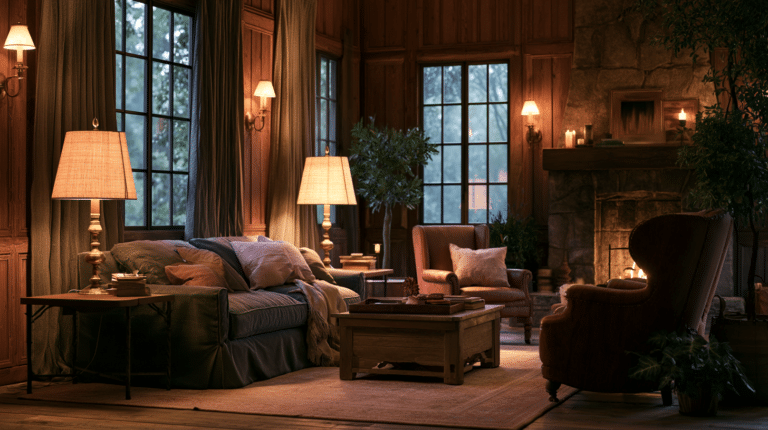
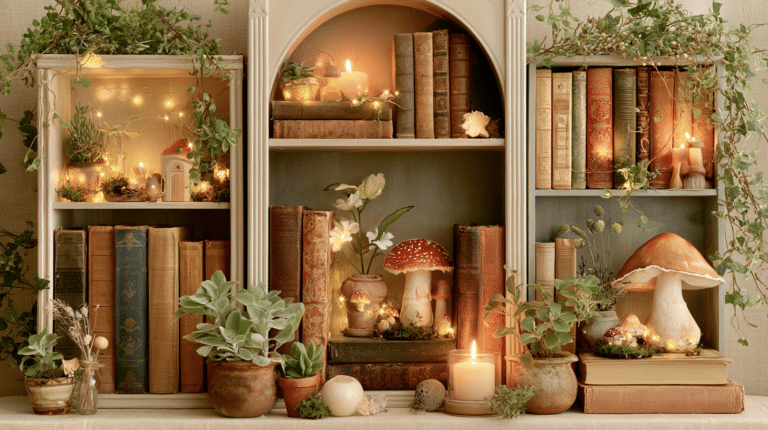
🌟 Steal This Look
- Paint Color: Benjamin Moore Chantilly Lace OC-65
- Furniture: open shelving in natural white oak to replace upper cabinets
- Lighting: schoolhouse pendant lights with aged brass hardware over the island
- Materials: durable satin enamel cabinet paint, foam rollers for smooth finish, liquid deglosser for prep
There’s something deeply satisfying about opening a freshly painted cabinet door months later and remembering you did this yourself—it’s the home improvement equivalent of learning to cook a perfect risotto, intimidating until you realize the process is forgiving with patience.
Your Ultimate Cabinet Painting Toolkit
Must-Have Supplies
- High-quality cabinet paint
- Primer (acrylic or waterborne alkyd)
- Medium and fine-grit sandpaper
- Degreaser (TSP works wonders)
- Quality brushes and foam rollers
- Painter’s tape
- Drop cloths
Pro Tip Arsenal
- HVLP sprayer for salon-smooth finish
- Palm sander to speed up prep
- Sawhorses for easy door painting

💡 Steal This Look
- Paint Color: Farrow & Ball Hague Blue No.30
- Furniture: a freestanding butcher block kitchen island with turned legs
- Lighting: schoolhouse glass pendant lights with aged brass hardware
- Materials: brushed brass pulls, honed Carrara marble countertops, and raw linen café curtains
There’s something deeply satisfying about opening a freshly painted cabinet door months later and remembering the weekend you transformed your kitchen with your own two hands.
The Step-by-Step Magic Process
Preparation is Everything
- Strip It Down
- Remove all hardware
- Label each door/drawer for easy reassembly
- Clean surfaces like you’re prepping for surgery
- Sanding: Your New Best Friend
- Lightly sand ALL surfaces
- Goal: Create a surface paint will actually stick to
- Wipe away dust completely
- Priming Like a Pro
- Apply even primer coat
- Let dry 12-24 hours
- Light sanding between coats
- Paint Application
- Thin, even coats are your mantra
- Foam rollers for flat surfaces
- Brushes for details and edges
- 2-3 coats for perfection
- Patience, Grasshopper
- Let each coat dry completely
- Optional: Polyurethane for extra durability
- Cure time: 24-48 hours before normal use

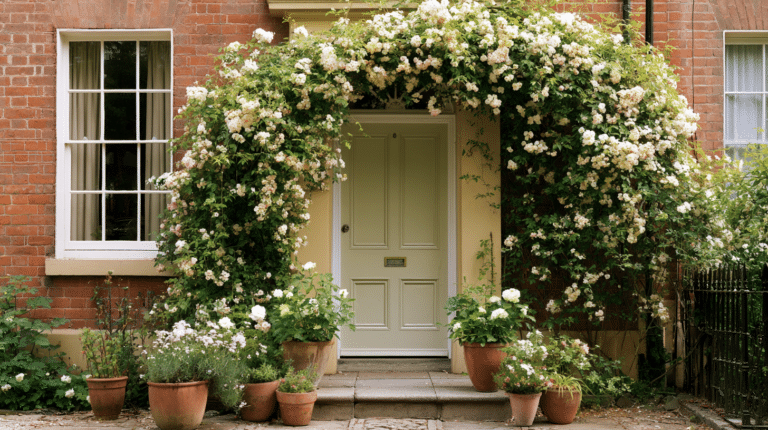
🖼 Steal This Look
- Paint Color: use Behr brand. Match the ACTUAL wall color in the image. Format: Behr ColorName CODE
- Furniture: specific furniture for this room
- Lighting: specific lighting fixture
- Materials: key textures and materials
This is the make-or-break phase where weekend warriors either become kitchen heroes or cautionary tales—I’ve seen too many beautiful paint colors ruined by impatience, so treat this process like the craftsmanship it deserves to be.
Design Inspiration
Color Palettes That Wow
- Classic whites and grays
- Moody blues and greens
- Dramatic black for bold statements
Style Flexibility
- Modern minimalist
- Cozy farmhouse
- Sleek contemporary

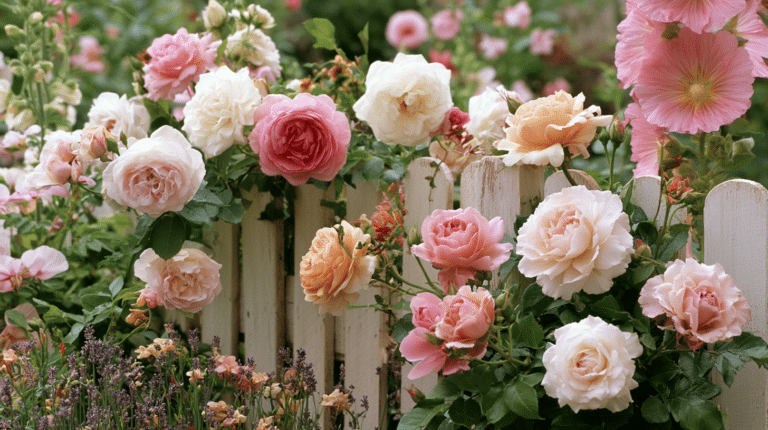
🏠 Steal This Look
- Paint Color: use Valspar brand. Match the ACTUAL wall color in the image. Format: Valspar ColorName CODE
- Furniture: Shaker-style base cabinets with soft-close drawers, open shelving with brass brackets, and a painted kitchen island with turned legs
- Lighting: pendant lights with seeded glass shades in aged brass finish
- Materials: matte painted cabinet surfaces, honed Carrara marble countertops, natural oak flooring, and brushed nickel hardware
There’s something deeply satisfying about opening a freshly painted cabinet door each morning—it’s the kind of quiet transformation that makes you actually want to cook instead of ordering takeout again.
🛒 Get The Look
Common Mistakes to Dodge
🚫 Rookie Errors:
- Skipping thorough cleaning
- Rushing between coats
- Overloading your brush/roller
- Neglecting proper ventilation

🎨 Steal This Look
- Paint Color: PPG Timeless 1001-1 for crisp cabinet contrast against warm walls
- Furniture: vintage-inspired step stool for reaching upper cabinets
- Lighting: under-cabinet LED strip lighting to highlight fresh paint finish
- Materials: deglosser liquid sander, tack cloth, foam roller covers, painter’s pyramids
I’ve watched too many homeowners celebrate their ‘finished’ cabinets on Sunday night, only to find fingerprints permanently embedded and doors sticking shut by Tuesday morning—patience truly pays here.
Budget Breakdown
- DIY Route: $150-$400
- Professional Service: $2,500-$5,000
- Potential Home Value Increase: Priceless 💁♀️

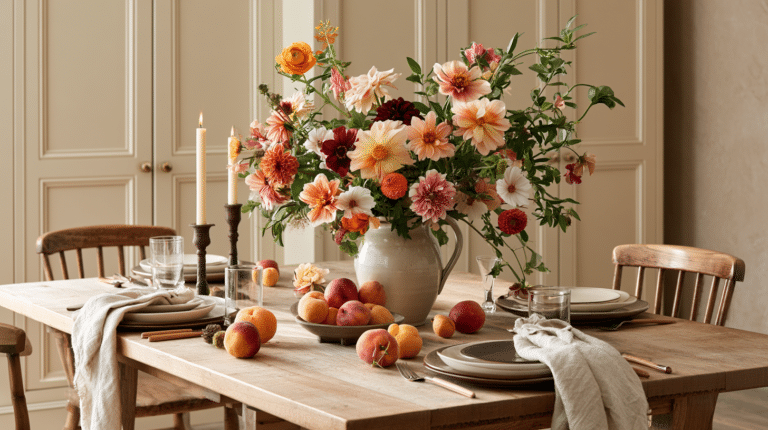
🖼 Steal This Look
- Paint Color: Dunn-Edwards Whisper White DEW 340
- Furniture: IKEA BODBYN off-white base cabinets paired with open reclaimed wood shelving
- Lighting: Schoolhouse Electric Satellite 3 pendant in matte black
- Materials: satin enamel cabinet paint, 220-grit sanding sponge, FrogTape delicate surface painter’s tape, natural brass hardware
Most homeowners stare at their kitchen cabinets more than their television, yet hesitate to invest a weekend in transforming them—this is the rare project where a Saturday of elbow grease genuinely reshapes how you feel about the heart of your home every single morning.
Final Thoughts
Painting kitchen cabinets isn’t just a project—it’s a transformation. With patience, the right tools, and this guide, you’ll create a kitchen that looks like it cost thousands.
Pro Confidence Boost: You’ve got this. One brush stroke at a time. 💪🏼🎨
Disclaimer: Results may cause spontaneous kitchen dance parties and neighborhood envy.

★ Steal This Look
- Paint Color: use Clare Paint brand. Match the ACTUAL wall color in the image. Format: Clare Paint ColorName CODE
- Furniture: floating open shelving in natural white oak for dish display and easy-access cookware
- Lighting: pendant lights with aged brass finish and seeded glass shades over the island
- Materials: matte painted cabinet fronts, honed Carrara marble countertops, and brushed nickel hardware with substantial weight
There’s something deeply satisfying about opening a cabinet door you painted yourself—it transforms daily cooking from chore to quiet pride.
This post may contain affiliate links. Please see my disclosure policy for details.