

Easter Mantel Decor That Actually Makes Your Home Feel Like Spring Has Sprung
Contents
Easter mantel decor transforms your fireplace into a celebration of spring, and I’m going to show you exactly how to nail it without making your living room look like a craft store exploded.
Look, I get it. You want your home to feel fresh and festive, but you don’t want it looking like you raided every pastel aisle at the discount store. You’re wondering if bunnies are too childish, if pastels will clash with your existing furniture, and whether you really need to spend a fortune to make it look good.
The answer is no, you don’t need deep pockets or design credentials. You just need a clear plan and the right pieces.
Why Your Mantel Deserves This Attention
Your fireplace mantel sits at eye level in probably the most-used room in your house. It’s prime real estate. When Easter rolls around and spring is begging to be celebrated, your mantel is the perfect canvas.
I’ve decorated mantels in tiny apartments and sprawling farmhouses, and here’s what I know for sure: the mantel sets the tone for your entire room. Get this right, and your whole space feels intentional and seasonal. Get it wrong, and it looks like you’re trying too hard or not at all.
The Foundation: Picking Your Design Direction
Before you buy a single bunny figurine or pastel egg, decide on your vibe.
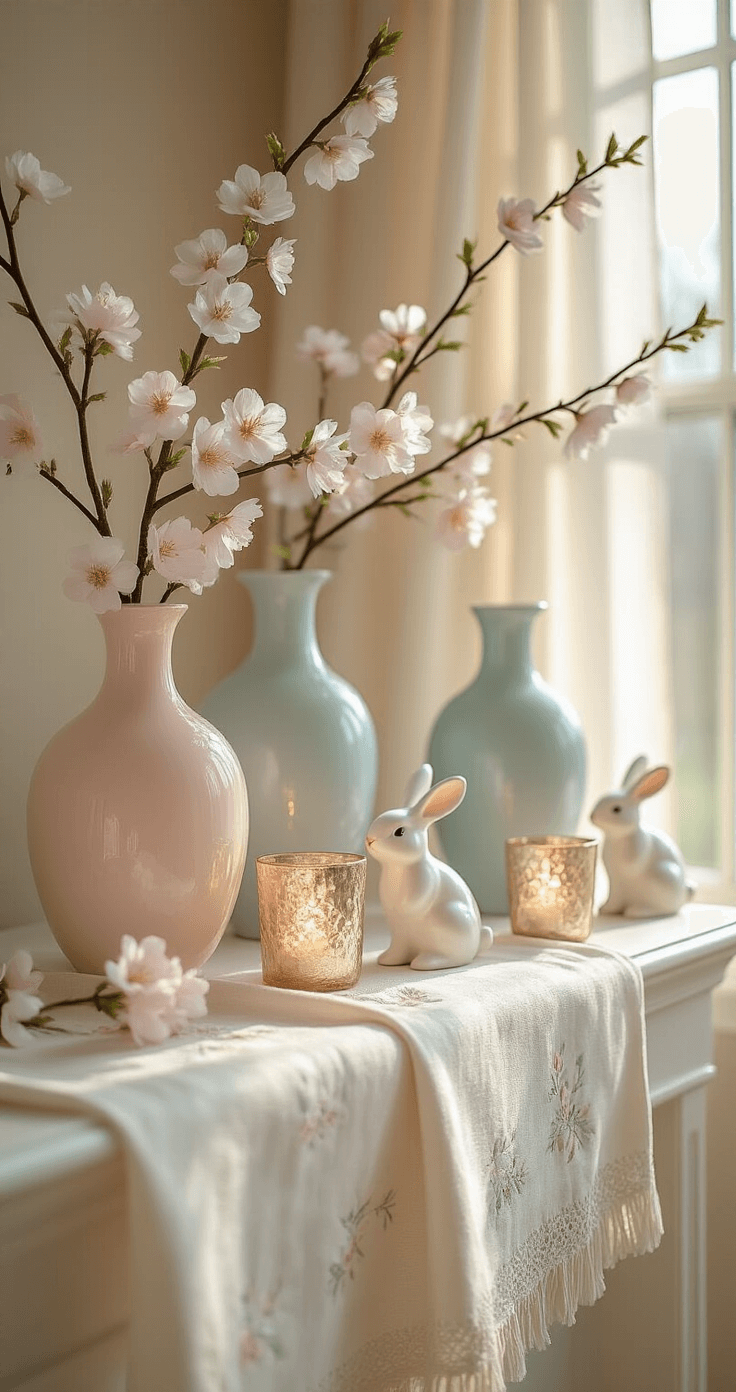
The Soft Romantic Look
This works if you love delicate colors, flowing lines, and a feminine feel. Start with pastel artificial flowers in soft pinks, baby blues, and buttery yellows. Layer in white ceramic pieces. Add mercury glass candle holders that catch the light beautifully.
Key colors: Blush pink, powder blue, mint green, cream
Must-haves: Flowing garlands, delicate figurines, lots of candles
The Modern Farmhouse Approach
This is my personal favorite because it feels collected rather than decorated. Think natural textures meeting vintage finds.
Grab some terra cotta pots in varying sizes. Plant them with real lavender or rosemary (yes, herbs work brilliantly for Easter). Add wooden bunny silhouettes instead of ceramic ones. Use a burlap table runner as your base layer.
Key colors: Warm whites, natural wood tones, soft greens, terracotta
Must-haves: Baskets, vintage signs, weathered wood pieces, real or faux greenery

The Maximalist Easter Explosion
If neutral and understated makes you yawn, embrace the color and pattern. Go bold with jewel-tone eggs (think emerald, sapphire, and amethyst mixed with traditional pastels). Layer different patterns. Stack books with spring-themed covers. Let your personality show through.
Key colors: All of them, but make them cohesive through repetition
Must-haves: Patterned fabrics, colorful eggs in abundance, statement pieces

The Shopping List That Won’t Break You
I’ve bought expensive decor and dollar store finds, and honestly? Mixed together, no one can tell the difference.
The Non-Negotiables:
- One substantial piece (mirror, large wreath, or oversized sign)
- Fresh or realistic faux flowers in at least two varieties
- A garland or greenery base
- Candles in three different heights
- Decorative eggs (you need more than you think)
The Nice-to-Haves:
- Bunny figurines in different materials
- Baskets for texture and height variation
- String lights or battery-operated LED fairy lights
- Seasonal signs or printable art
- Fabric runner or interesting textile for layering
Money-Saving Reality Check: You don’t need to buy everything new. Shop your house first. That cream-colored vase? Perfect. Clear glass hurricanes? Use them. White picture frames? They work.
I once created an entire Easter mantel using mostly pieces I already owned, buying only fresh tulips and a pack of pastel eggs. Cost: less than twenty dollars. Compliments: endless.
The Actual Assembly Process (Step by Step)
Step One: Clean Sweep
Remove everything from your mantel. Actually dust it. I know, revolutionary.
Step Two: Anchor Your Look
If you have a mirror or piece of art that lives above your mantel, decide if it stays or goes. A mirror works beautifully as a backdrop—you can even attach a simple spring wreath to it with removable hooks.
Step Three: Lay Your Foundation
Add your base layer. This could be:
- A fabric runner that drapes slightly over the edge
- A garland of greenery running the full length
- Individual greenery clusters at intervals
Pro move: Let your garland drape naturally rather than sitting stiffly. It should look effortless, not militarily precise.

Step Four: Establish Your Focal Points
Place your largest or most eye-catching pieces first. This might be:
- A large bunny figurine
- A substantial vase with flowering branches
- A decorative sign
Use the rule of thirds. Imagine your mantel divided into three sections. Place major pieces at those division points rather than dead center.
Step Five: Build Height Variation
This is where people mess up constantly. Everything sitting at the same height looks flat and boring.
Create levels by:
- Stacking books and placing items on top
- Using candlesticks of different heights
- Incorporating tall vases and short bowls
- Adding small risers or boxes hidden behind other items
Step Six: Fill and Balance
This post may contain affiliate links. Please see my disclosure policy for details.


