Blue and Silver Christmas Tree: Your Complete Guide to Winter Elegance
Contents
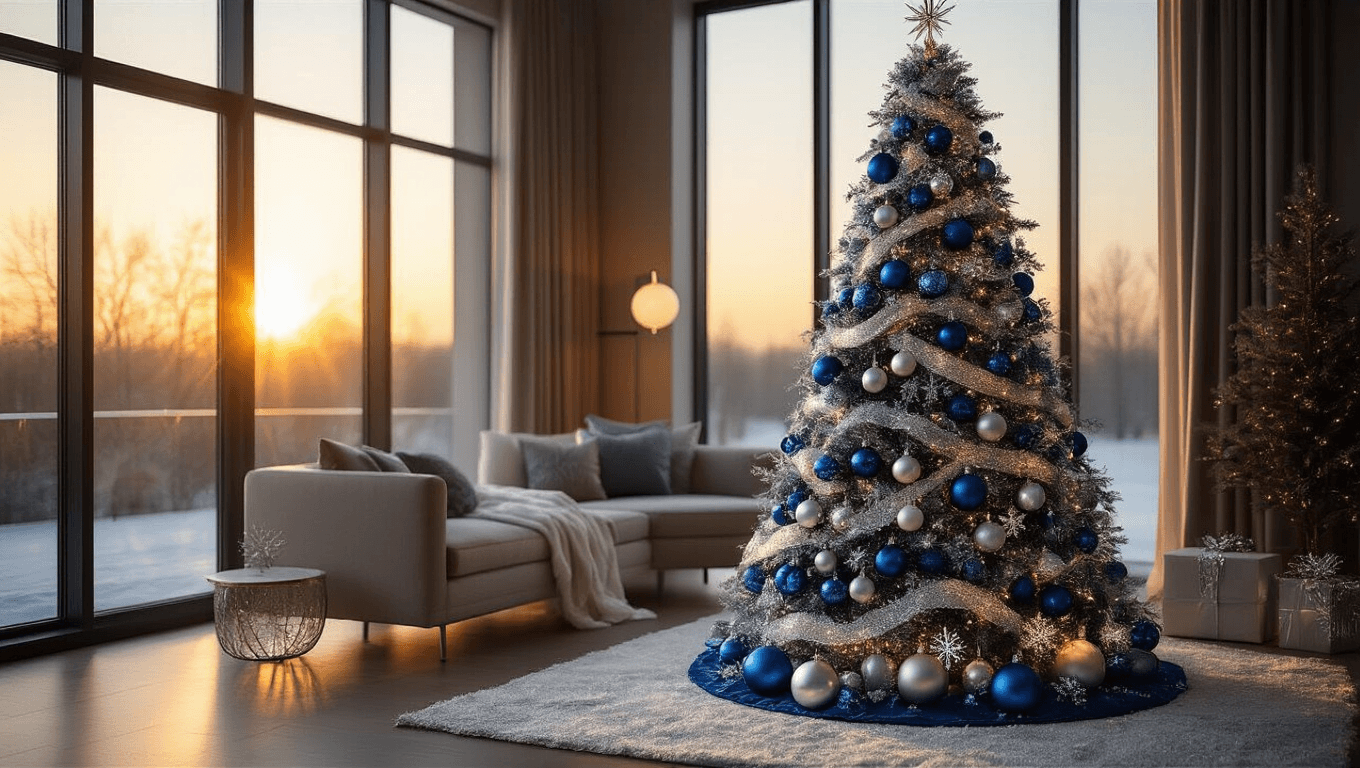
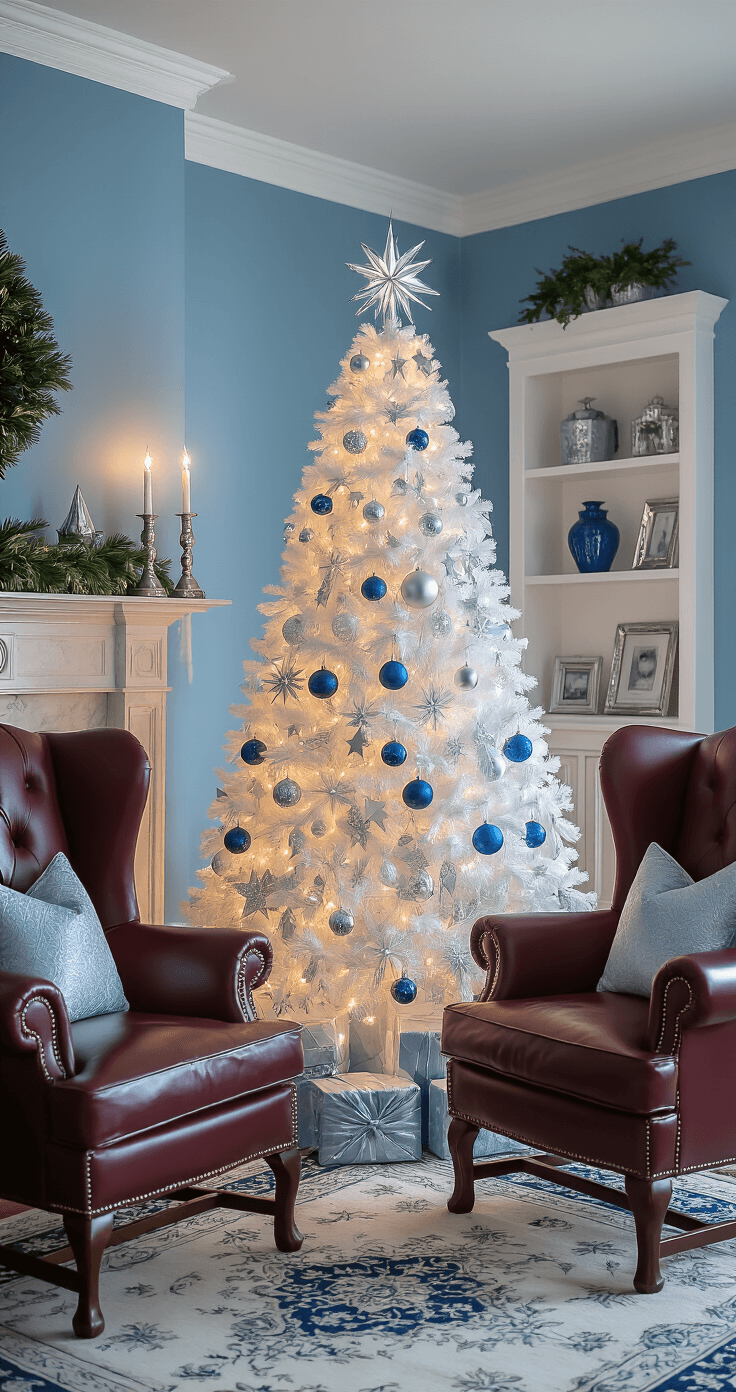
Blue and silver Christmas trees transform any space into a winter wonderland without the predictability of traditional red and green.
I’ve decorated more holiday trees than I care to count, and I’ll tell you straight: this color combo never fails to impress.
Every year around October, my inbox floods with the same anxious questions.
“Will blue look too cold?”
“Does silver read as tacky?”
“Can I pull this off without looking like I’m decorating an ice palace?”
Let me put your mind at ease right now.
Why Blue and Silver Works (And Why You’ll Love It)
Here’s what nobody tells you about blue and silver Christmas ornaments: they photograph like absolute magic.
The light catches differently than traditional colors. Your tree literally sparkles without looking like a disco ball threw up on it.
This combo gives you:
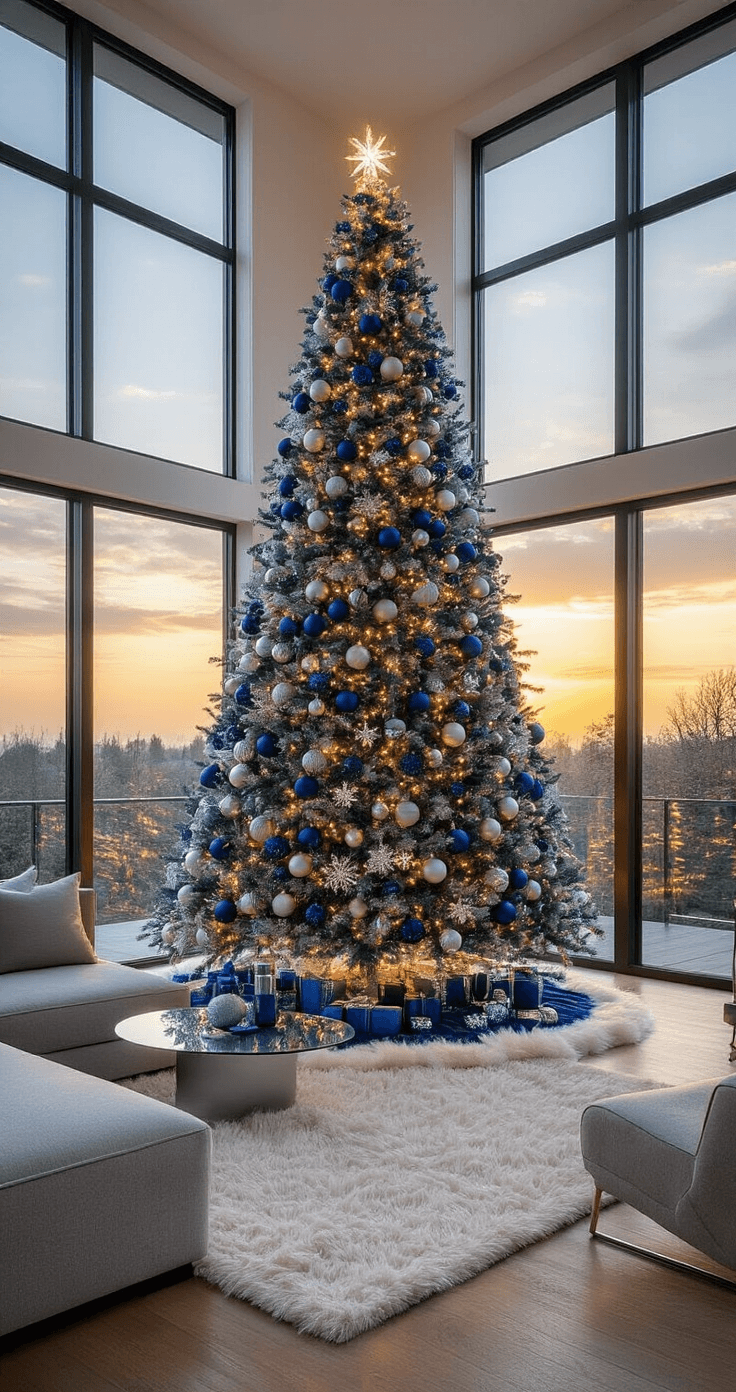
- Sophisticated elegance that works in modern homes
- A winter vibe that feels intentional, not accidental
- Flexibility to go icy-cool or warm-and-cozy depending on your lighting choice
- Instagram-worthy results that make your neighbors jealous
I learned this the hard way after years of struggling with muddy, cluttered-looking trees.
What You Actually Need (No Fluff)
The Non-Negotiables
Your Tree Foundation:
Start with a quality artificial Christmas tree in green, white, or flocked finish. Six to eight feet hits that sweet spot between “statement piece” and “doesn’t eat my entire living room.”
Ornaments That Matter:
You need 60-100 ornaments minimum for a properly full tree. Yes, that sounds like a lot. No, you can’t skimp here and expect magazine-worthy results.
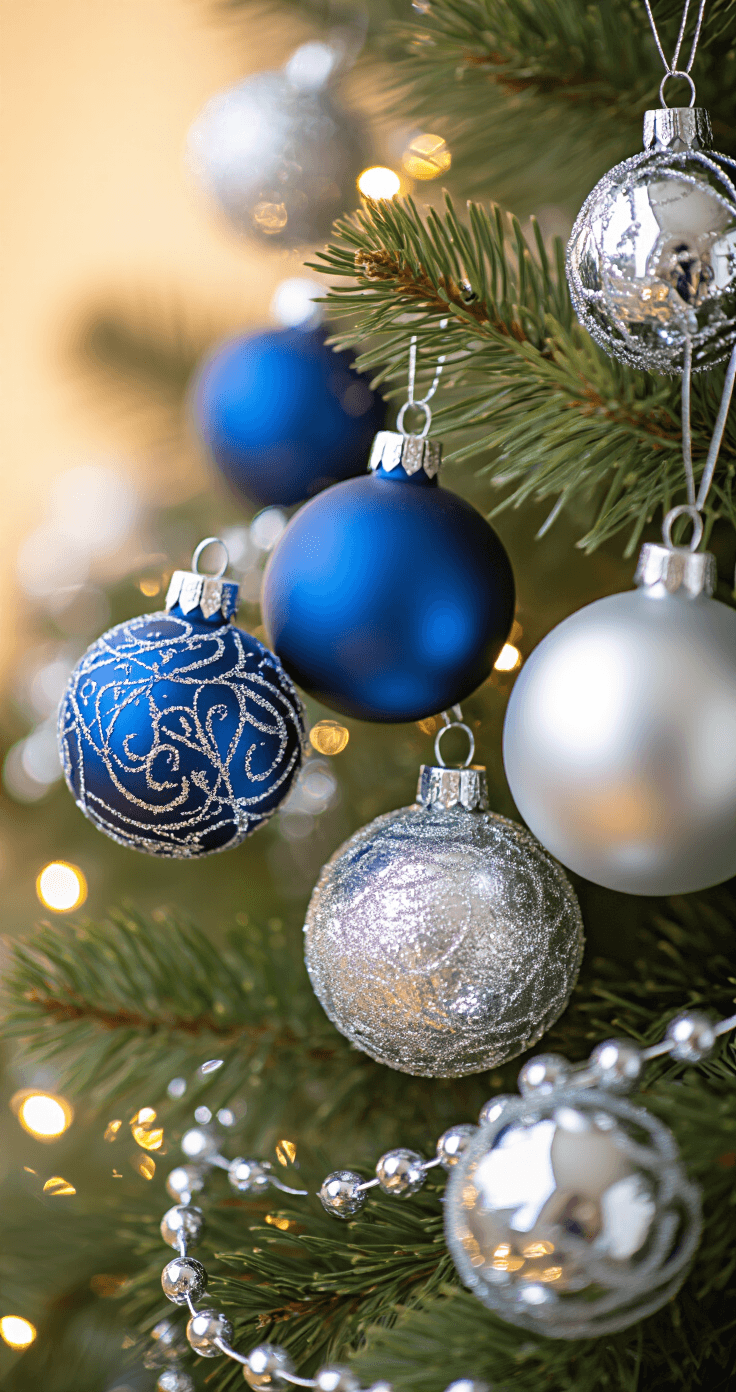
Mix these finishes in a 50/30/20 ratio:
- 50% matte ornaments (your workhorses that anchor the color)
- 30% glossy pieces (these catch light beautifully)
- 20% glittered or specialty ornaments (your showstoppers)
Lighting Strategy:
Grab LED Christmas lights in the 2,000-3,000 bulb range. Cool white gives you that icy, modern edge. Warm white softens everything for a cozier feel.
I switch between both depending on my mood and never regret having options.
The Finishing Kit:
- Metallic silver ribbon or beaded garland
- Statement tree topper (silver star or elegant finial)
- Coordinating tree skirt in white, silver, or faux fur
The Game-Changers (Optional But Worth It)
If you want to elevate this from “nice” to “wow”:
- Add frosted garland woven through branches.
- Toss in crystal ornaments that catch and multiply your light.
- Layer in white or frosted accents to break up intensity.
One year I added just three oversized silver snowflake ornaments as focal points. The compliments I got were almost embarrassing.
The Setup Strategy That Actually Works
Before You Touch a Single Ornament
Clear a 3-4 foot radius around your tree spot. You need room to work, period.
Test every string of lights before you start. Nothing kills your decorating momentum like discovering dead bulbs halfway through.
Lay out all your ornaments where you can see them. This prevents the classic mistake of using all your best pieces on the front half of the tree.
The Step-By-Step (No Shortcuts)
Step 1: Lights First, Always
Wrap lights deep into the tree, not just on the surface. Start at the base and spiral upward. Push some strands toward the trunk for depth.
Turn them on and walk around the tree. Dark spots? Add more lights now, not later.
Step 2: Large Ornaments Set Your Foundation
Place your biggest blue and silver ornaments first. Space them 8-12 inches apart in a roughly triangular pattern around the tree. This creates visual balance before you fill in gaps.
Hang heavier pieces closer to the trunk on sturdy branches. Nobody wants ornament casualties at 2 AM on Christmas Eve.
Step 3: Medium Pieces Fill The Gaps
Now add your mid-sized ornaments between the large ones. Alternate matte and glossy finishes as you go. This creates rhythm without monotony.
Step 4: Specialty Ornaments Become Focal Points
Your snowflakes, intricate finials, and special pieces go at eye level or slightly above. These guide the viewer’s eye around the tree. Place them deliberately where people naturally look.
Step 5: Ribbon Changes Everything
Start at the top with your decorative ribbon and work down. You can spiral it continuously or create looped swags.
Here’s my secret: vary the depth. Some ribbon sits on the surface, some tucks deeper into branches. This creates movement and dimension.
Step 6: Crown and Ground Your Tree
Secure your tree topper firmly. A crooked topper ruins the entire effect, trust me.
Arrange your tree skirt last, smoothing out wrinkles and adjusting folds until it looks intentional.

The Details That Separate Good From Gorgeous
Color Distribution Matters More Than You Think
Don’t cluster all your blue ornaments on one side and silver on the other. Your eye needs both colors throughout for cohesion.
Use white and frosted accents as breathing room. About 10-15% of your total ornaments should be these neutral tones.
They prevent your tree from feeling overwhelming or too intense.
This post may contain affiliate links. Please see my disclosure policy for details.
This post may contain affiliate links. Please see my disclosure policy for details.