Easter Decorations That’ll Make Your Guests Say “Wow, You Did That?”
Contents
Easter decorations don’t have to drain your wallet or require a design degree to look absolutely stunning.
I still remember the first time I tried decorating for Easter—I spent way too much money on plastic eggs that looked cheap, bought a sad bunny from the grocery store, and called it a day.
My dining room looked like a kindergarten craft explosion.
But here’s what I’ve learned after years of trial and error: Easter decorating works best when you mix DIY charm with strategic store-bought pieces, keep your color palette tight, and don’t overthink it.
Let me walk you through exactly how to create an Easter setup that looks like it belongs in a magazine spread.

Why Your Easter Decor Probably Looks… Off
Most people make the same mistakes I did.
- They buy random pastel items without a plan.
- They stick everything on one table and hope it looks cohesive.
- They either spend too much or go so budget that everything screams “dollar store.”
The secret? Think like a designer, but shop like a bargain hunter.
Your Easter decorations should tell a story—spring renewal, family traditions, cozy gatherings—not just scream “I panic-bought decorations the week before Easter.”
Getting Started: The No-Nonsense Essentials
Time investment: 2-4 hours depending on how ambitious you’re feeling
Budget range:
- Thrifty route: Under $50 using Dollar Tree and DIY
- Middle ground: $75-150 with some quality pieces
- Going all out: $200+ for statement florals and premium items
Skill level needed: Honestly, if you can use a hot glue gun without burning yourself (much), you’re qualified
Your Easter Decor Shopping List
Before you grab your keys and head out, let me save you from buying things you’ll regret.
The absolute must-haves:
- Artificial spring flowers (tulips, hydrangeas, or daffodils)
- Pastel Easter eggs in various sizes
- One statement piece (wreath, Easter tree, or centerpiece)
- Bunny figurines (ceramic or wood look way better than plastic)
- Natural elements like branches or moss
The nice-to-haves that elevate everything:
- Gold spray paint for giving cheap items an expensive look
- Ribbon in coordinating pastels
- Small baskets for grouping items
- LED candles (because real ones are a fire hazard around all that flammable decor)
Skip these unless you love them:
- Those weird Easter character inflatables
- Anything that sings or makes noise (your family will thank me)
- Super trendy items you’ll hate next year

The Color Palette That Never Fails
Listen, I’ve tried every color combination imaginable.
The formula that works every single time?
Choose ONE of these as your base:
- Soft blues and whites (French cottage vibes)
- Blush pinks with sage green (romantic spring)
- Lavender with cream (elegant and understated)
- Mix of pastels with lots of white (classic Easter)
Then add exactly TWO accents:
- Gold or rose gold metallics
- Natural wood tones
- Deep green foliage
That’s it.
Three colors maximum, plus neutrals.
When I stopped trying to use every pastel color at once, my Easter decor went from chaotic to cohesive overnight.
Creating Your Hero Piece (The Thing Everyone Notices First)
Every great Easter display has one showstopper.
Not three.
Not five scattered throughout the house.
One perfect piece that makes people stop and look.
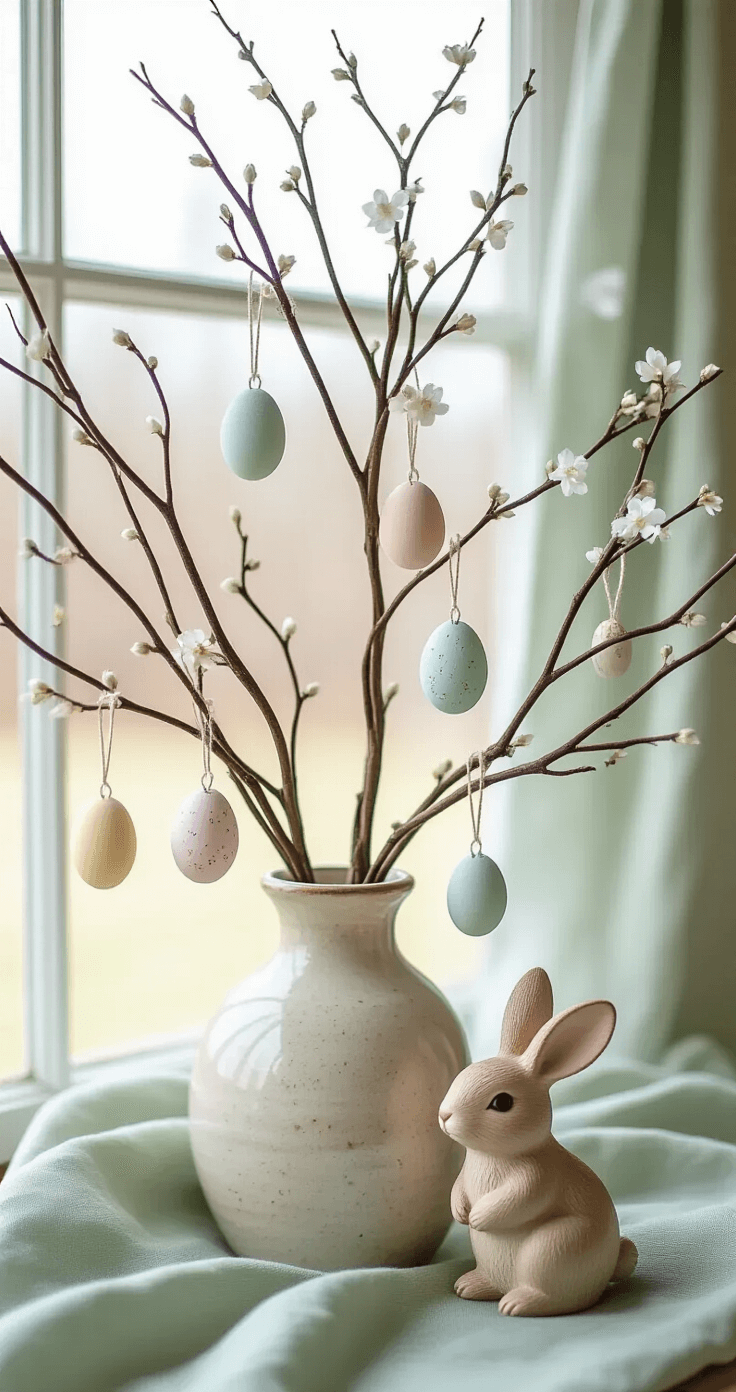
Option 1: The Easter Tree That Doesn’t Look Childish
Find branches from your yard (free!) or grab some curly willow from the craft store.
Spray them with white or gold spray paint if they look too… branchy.
Stick them in a weighted vase.
Hang decorated eggs, small flowers, or ribbon from the branches.
The trick? Keep it restrained.
Space out your ornaments so each one gets attention.
I learned this after creating what my husband lovingly called “the Easter branch disaster of 2023” where I hung so many eggs you couldn’t even see the branches anymore.
Option 2: The Wreath That Actually Looks Expensive
Dollar Tree sells basic wreath forms for $1.25.
No joke—that same form costs $8-12 elsewhere.
Grab one along with their artificial flowers, some ribbon, and maybe a cute bunny pick.
Hot glue everything on in clusters (not evenly spaced—that looks too uniform and boring).
Hang it on your front door or above your mantel.
Boom. You just saved $60 compared to buying a pre-made designer wreath.
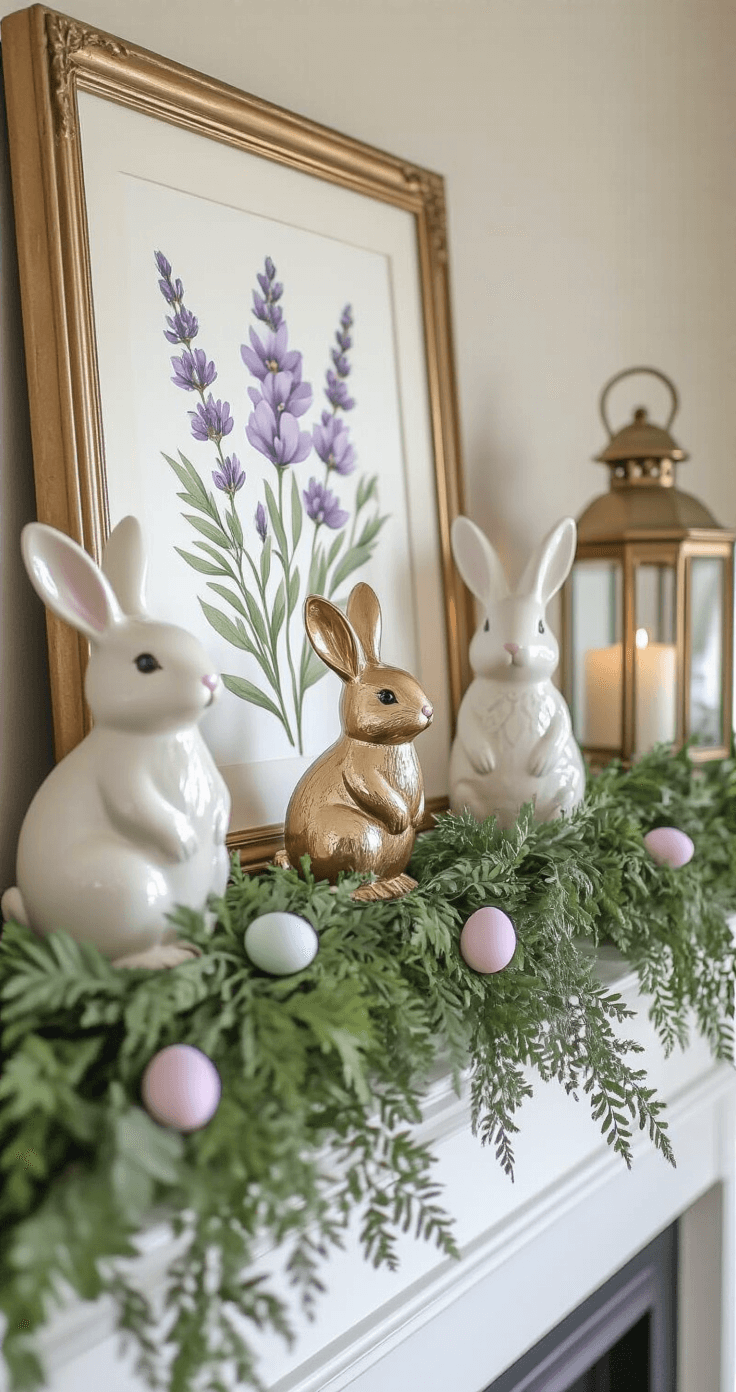
Option 3: The Centerpiece That Photographs Like a Dream
Get a long wooden tray or box (you probably already have one from previous Pinterest projects).
Fill it with:
- Moss or grass filler
- Pillar candles in varying heights
- Clustered eggs
- Small potted flowers or faux tulips
- Bunny figurines tucked in strategically
The “secret sauce” here is height variation.
Everything at the same level looks flat and boring in photos.
Stagger those heights like your Instagram aesthetic depends on it (because it does).
This post may contain affiliate links. Please see my disclosure policy for details.