

Winter Wreaths: How to Make Gorgeous Natural Decorations That Actually Look Professional
Contents
Winter wreaths transform my front door from boring to “wait, did she hire a professional decorator?” every single year.
I’m talking about those stunning circles of greenery that make neighbors slow down while walking their dogs.
The ones that smell incredible when you brush past them.
Let me be straight with you—you don’t need fancy floral design training or expensive supplies to pull this off. You need scissors, some wire, and access to a few evergreen branches. That’s it.
Project Overview
Quick Style Snapshot
Here’s what you’re getting into:
- Time needed: 1-2 hours for assembly and styling
- Estimated cost range: $15-75 depending on materials (practically free if you forage, pricier if you want premium florals)
- Ideal space size: Perfect for any entryway, front door, living room wall, or as a centerpiece
- DIY skill level: Beginner to intermediate
- Seasonal appeal: Winter through early spring, though you can adapt this year-round
Design Identity
Winter wreaths give you that rustic, natural aesthetic that screams cozy farmhouse meets woodland elegance.
We’re working with deep greens, whites, browns, and touches of metallic shimmer.
This project works beautifully anywhere—hang it on your front door, mount it above your fireplace, or use it as a dining table centerpiece.
Anyone seeking nature-inspired home decor will fall hard for this project.

Why Your Winter Wreath Might Look Sad (And How to Fix It)
I’ve seen plenty of wreaths that look… tired.
Sparse greenery showing too much frame underneath. Random bits stuck on with no thought to placement. Everything the same texture, so nothing stands out.
The secret to avoiding sad-wreath-syndrome comes down to three things:
- Layering different textures—you need soft feathery bits mixed with structured elements like pinecones.
- Strategic placement—not everything goes everywhere; leave some breathing room.
- Quality materials—fresh or well-preserved greenery makes or breaks the whole thing.

Styling & Decor Essentials
Must-Have Items
Your foundation matters more than anything else.
Grab a grapevine wreath form in 12-14 inches diameter, or use a wire frame if that’s what you’ve got. This becomes your canvas.
The primary greenery creates your lush backdrop. Choose evergreens like:
- Eastern white pine (long, soft needles)
- Fir or spruce (classic Christmas tree texture)
- Cedar (flat, feathery appearance)
- Juniper (deeper green shade)
- Boxwood (small, tight leaves)
Mix at least 2-3 varieties for visual depth. Pine gives you softness while juniper brings darker contrast—combining them creates richness you can’t achieve with one type alone.
Now for the fun stuff—natural decorative elements that add character.
- Pinecones anchor your design with structure.
- Berries (holly, winterberry) provide pops of color.
- Dried flowers (hydrangea, rose hips) soften everything.
- Nuts (acorns, walnuts) add unexpected texture.
- Feathers bring movement.
- Moss fills gaps beautifully.
- Ornamental grass plumes create dramatic height.
These accents become your signature pieces.
For building your base, flexible branches like bittersweet vines, willow, or grapevine can be bent into interesting shapes and secured with floral wire. This gives you that organic, just-gathered-from-the-woods vibe instead of a perfectly circular craft-store look.

Optional Enhancements
Want to take your wreath from good to “where did you BUY that?”
- Flocked or frosted evergreens create a snowy aesthetic without actual snow. They add shimmer and sophistication that catches light beautifully.
- White berries and eucalyptus give you a monochromatic winter look that’s incredibly elegant.
- Purple callicarpa berries provide subtle color depth that surprises people when they look closely.
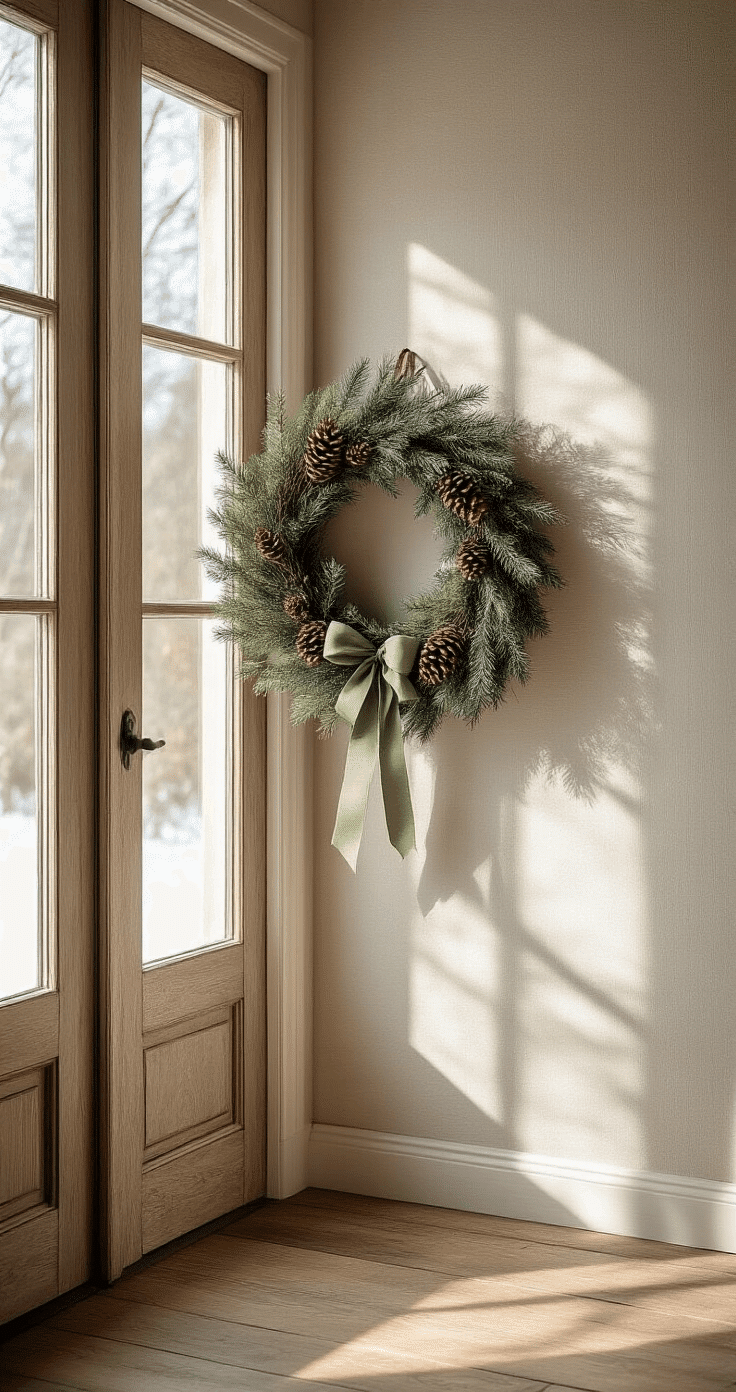
- Ribbons in sage green, brown, or traditional reds provide a polished finishing touch—but go easy here. One beautiful velvet ribbon beats five cheap ones every time.
Pro Styling Tips
- Layer materials intentionally. Start with your fullest greenery as the base. Add secondary greens with different textures. Finally, place accent pieces where they draw the eye.
- Here’s something most people get wrong—they fill every inch. Leave some areas bare, particularly at the top of the wreath, to maintain that natural, foraged aesthetic.
- Create bundles before attaching. Group 3-4 different types of foliage together and secure with floral wire. Then attach the entire bundle to your wreath form. This technique dramatically increases visual impact and cuts your assembly time in half.
- Balance contrasting elements. Pair soft, feathery cedar with hard, structured pine cones. Mix deep evergreens with lighter, dried accents. Combine shiny frosted elements with matte naturals. Contrast creates interest—similarity creates boredom.

This post may contain affiliate links. Please see my disclosure policy for details.


