

How a Red Bow Christmas Tree Became My Holiday Signature Look
Contents
Red bow Christmas trees stopped me in my tracks the first time I saw one in a designer showroom.
I’d been decorating trees for years with the usual jumble of ornaments collected over time, and suddenly here was this impossibly elegant creation that made everything else look cluttered.
The secret? Strategic placement of gorgeous red bows and ribbons that transformed an ordinary tree into something magazine-worthy.
Why Red Bows Work When Everything Else Doesn’t
Most of us overthink Christmas tree decorating.
We pile on ornaments, add seventeen different colors, toss some tinsel, and wonder why it looks chaotic instead of cohesive.
Red bows solve this problem instantly.
They create a unified color story that ties everything together without requiring a design degree.
The beauty is in the simplicity—you’re working with variations of one color family, which automatically creates harmony.
Plus, red screams “Christmas” without being childish or kitschy.
It’s sophisticated enough for adult spaces while still capturing that magical holiday feeling.
My First Red Bow Christmas Tree Disaster (And What I Learned)
Let me tell you about my first attempt.
I bought a pack of red velvet bows and basically hot-glued them randomly across my tree like I was bedazzling a denim jacket in 2003.
It looked absolutely ridiculous.
The problem? I treated bows like ornaments instead of understanding they’re actually architectural elements that need strategic placement.
Here’s what actually works:
The Foundation Rule
Start with your tree properly fluffed and shaped before adding a single decoration.
This sounds obvious, but I’ve watched people try to fix a lopsided tree with ornaments, and it never works.
Spend 20 minutes shaping branches so they fan outward naturally.
Position your tree where it’ll live permanently—moving it later with decorations attached is asking for trouble.
The Lighting Comes First Always
String your lights before anything else touches that tree.
I learned this the hard way when I had to unstick seventeen bows to reposition a light strand.
Use warm white lights for traditional elegance or cool white for a more modern vibe.
Wrap them deep into the branches, not just on the surface, to create depth and dimension.

The Actual Red Bow System That Works
Forget everything you think you know about bow placement.
Here’s the system I developed after three years of trial and error:
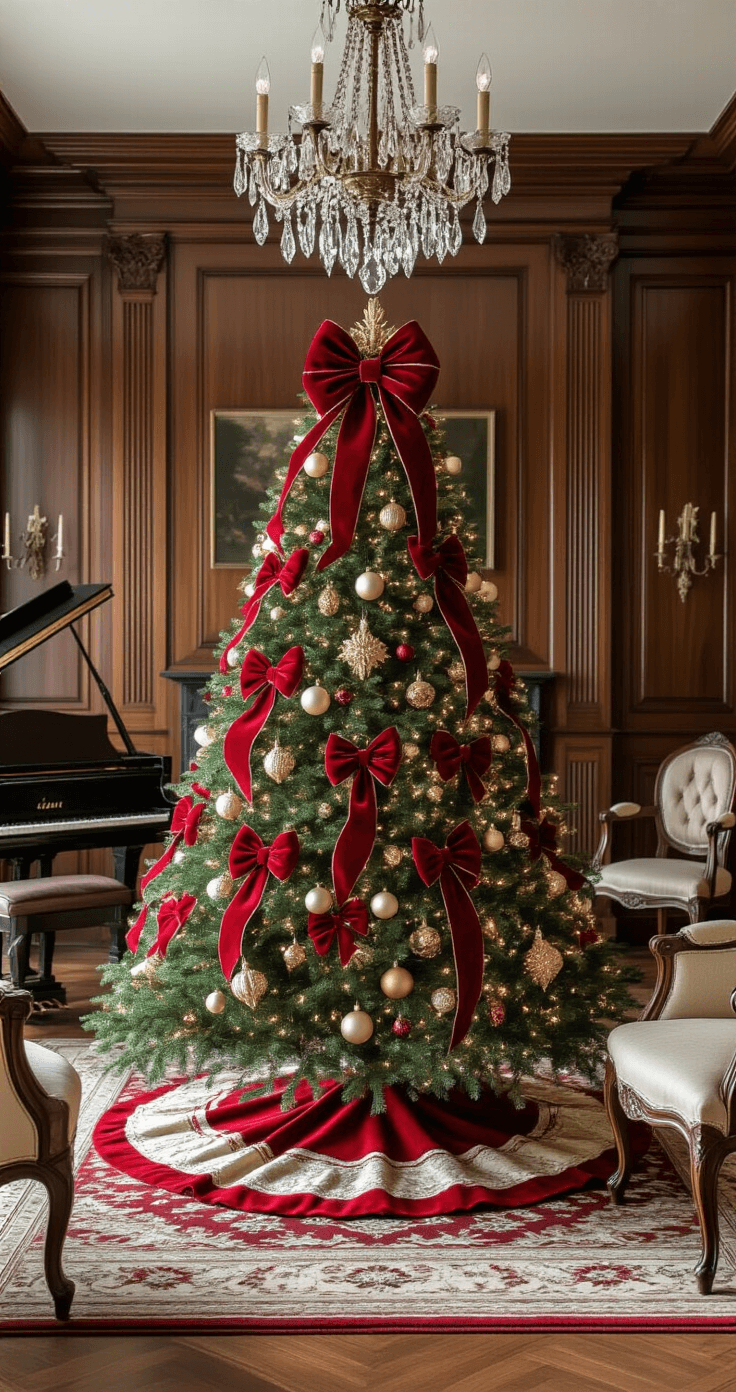
Start With Your Hero Bow
Your tree needs one statement piece—a large decorative bow for the tree topper that anchors the entire design.
I’m talking about a substantial bow, roughly 20 inches wide with multiple loops.
This isn’t the place for timid decorating.
Your hero bow sets the tone for everything else, so make it impressive.
Position it either at the very top or slightly below the peak if your tree has a beautiful natural point.
The Ribbon Cascade Technique
This is where magic happens.
Take wired Christmas ribbon in red velvet—the wired part is crucial because it holds its shape.
Start at the top near your hero bow and let the ribbon cascade down in loose, organic loops.
Don’t wrap it around the tree like you’re gift-wrapping a cylinder.
Instead, tuck it into branches, let it drape, create loops, and allow some sections to hang vertically.
The goal is movement and dimension, not tight spirals.
I use approximately 25-30 feet of ribbon for a 7-foot tree, working in 8-10 foot sections so it’s manageable.
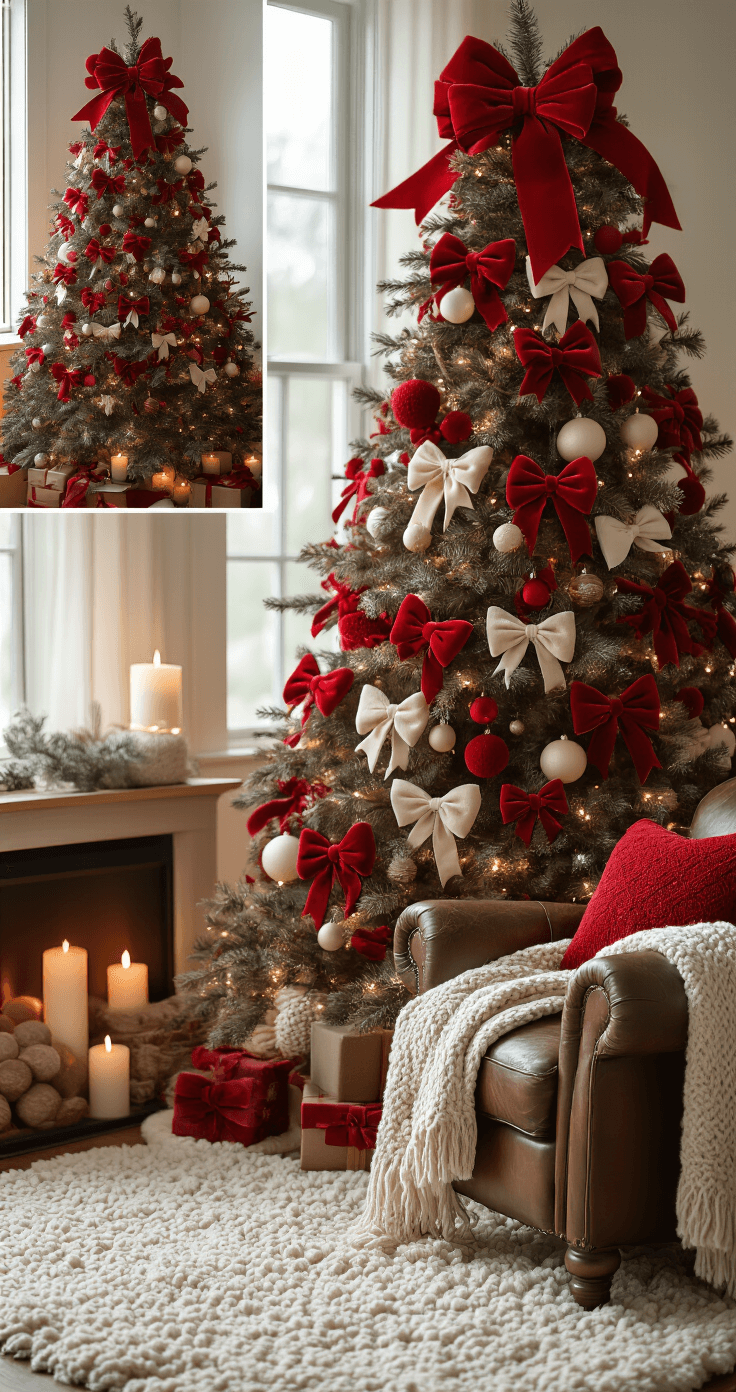
Secondary Bow Placement
Add medium-sized bows at strategic points—think of them as visual rest stops for the eye.
Place them roughly every 12-18 inches as you work down the tree.
These should face forward, not get lost in the branches.
I attach mine using floral wire (way more secure than clips) by wrapping wire around the bow backing and then securing it to a sturdy branch.
Here’s the key: stagger the placement so they’re not lined up like soldiers.
Some should be slightly left of center, some right, some deeper in the tree, some more prominent.
This creates visual interest instead of predictable repetition.
The Color Combinations That Actually Look Expensive
Pure red and green is fine, but it can read as basic if you don’t add layers.
Here’s how to elevate the look:
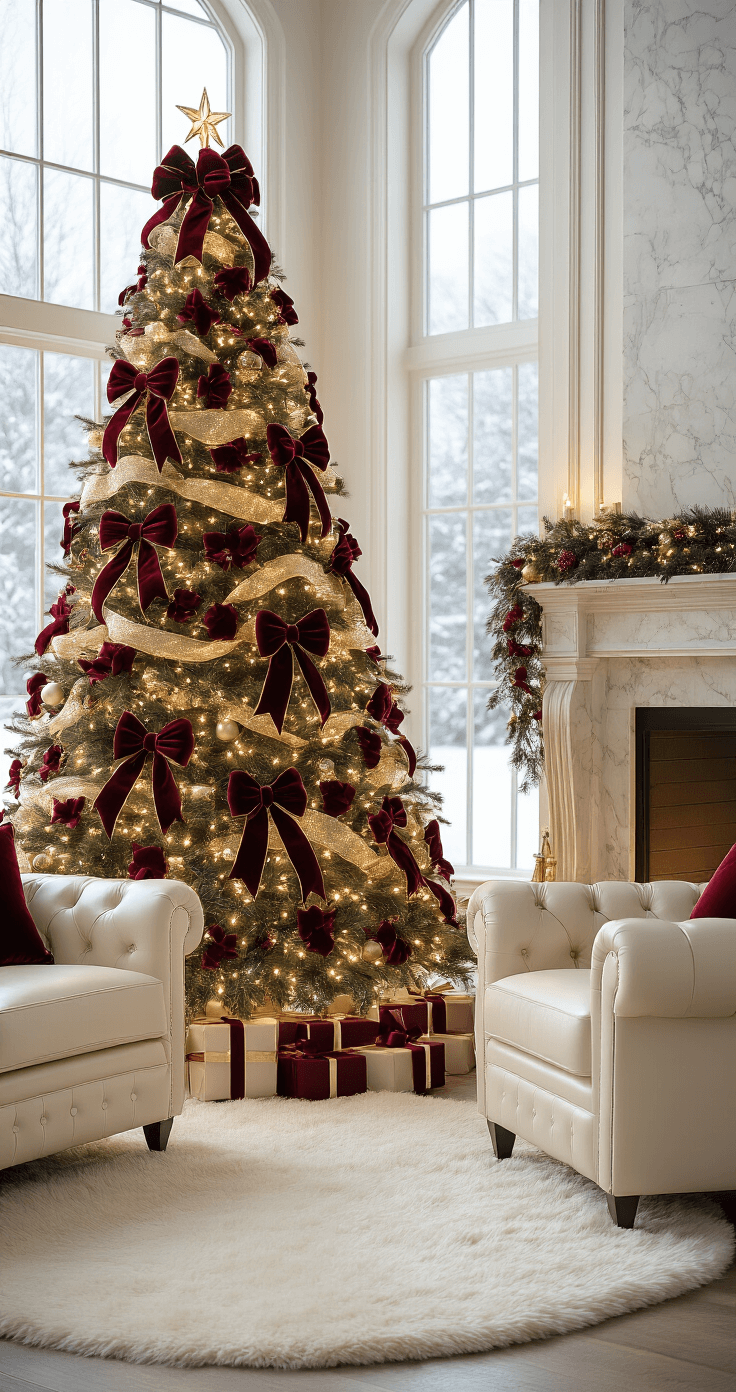
The Classic Rich Approach
- Deep burgundy and crimson reds (not bright cherry red)
- Gold metallic accents through gold-trimmed ribbon
- Cream or ivory ornaments for contrast
- Natural pinecones for texture
This combination feels like old-money Christmas—rich, warm, and timeless.
The Modern Jewel Tone Method
- Ruby red as your primary
- Touches of emerald green
- Silver metallic instead of gold
- Crystal-clear ornaments
- White lights only
This version feels contemporary and fresh while still honoring the red bow tradition.
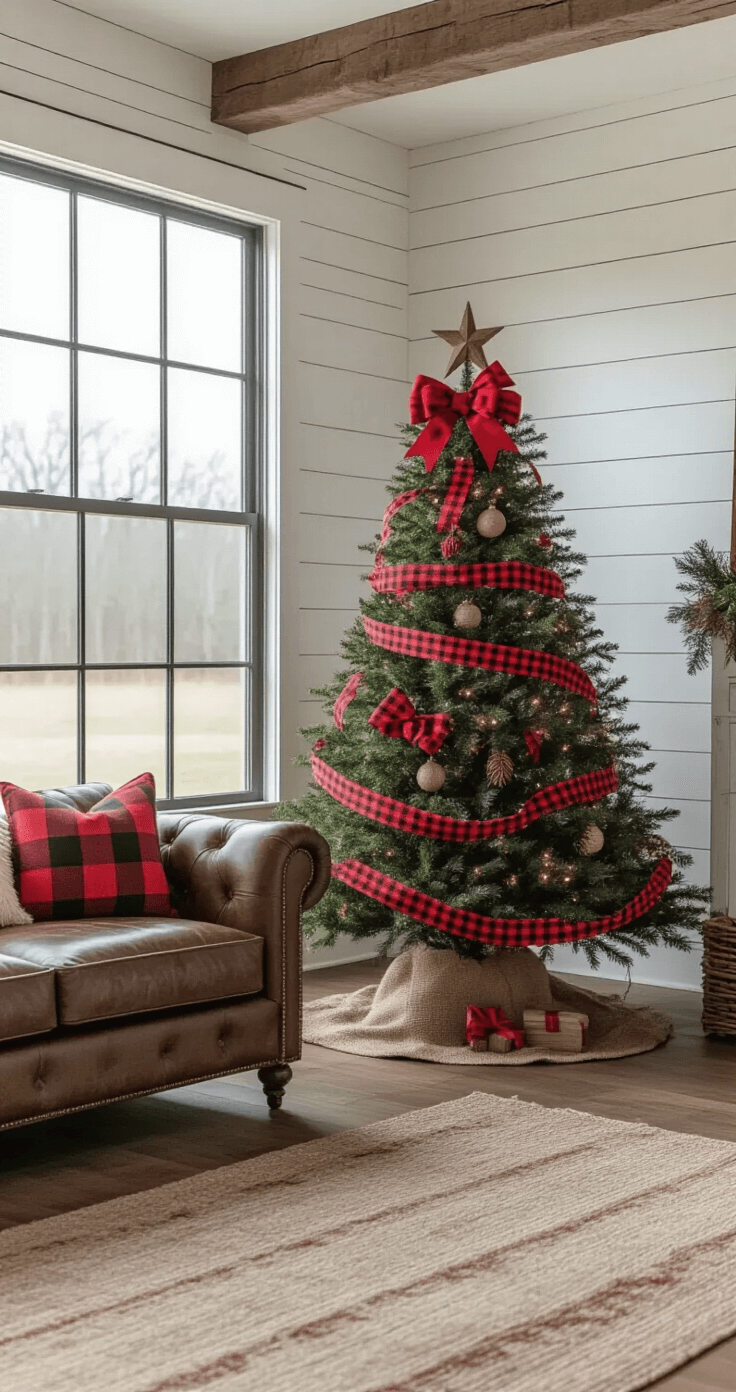
The Farmhouse Twist
- True red bows and buffalo check ribbon
- Natural wood ornaments
- Burlap accents (use sparingly)
- White matte ornaments
- Galvanized metal elements
This works beautifully if your home has rustic or farmhouse elements.
This post may contain affiliate links. Please see my disclosure policy for details.


