

How to Make Stunning Deco Mesh Wreaths: Your Complete Guide from Beginner to Pro
Contents
Mesh wreaths have completely transformed my approach to seasonal decorating, and I’m betting they’ll do the same for you.
You know that moment when you walk past a neighbor’s house and their front door looks absolutely magazine-worthy?
That’s probably a deco mesh wreath doing the heavy lifting.
I’ve made dozens of these beauties over the years, and I’m going to show you exactly how to create professional-looking wreaths without spending a fortune or needing any special skills.
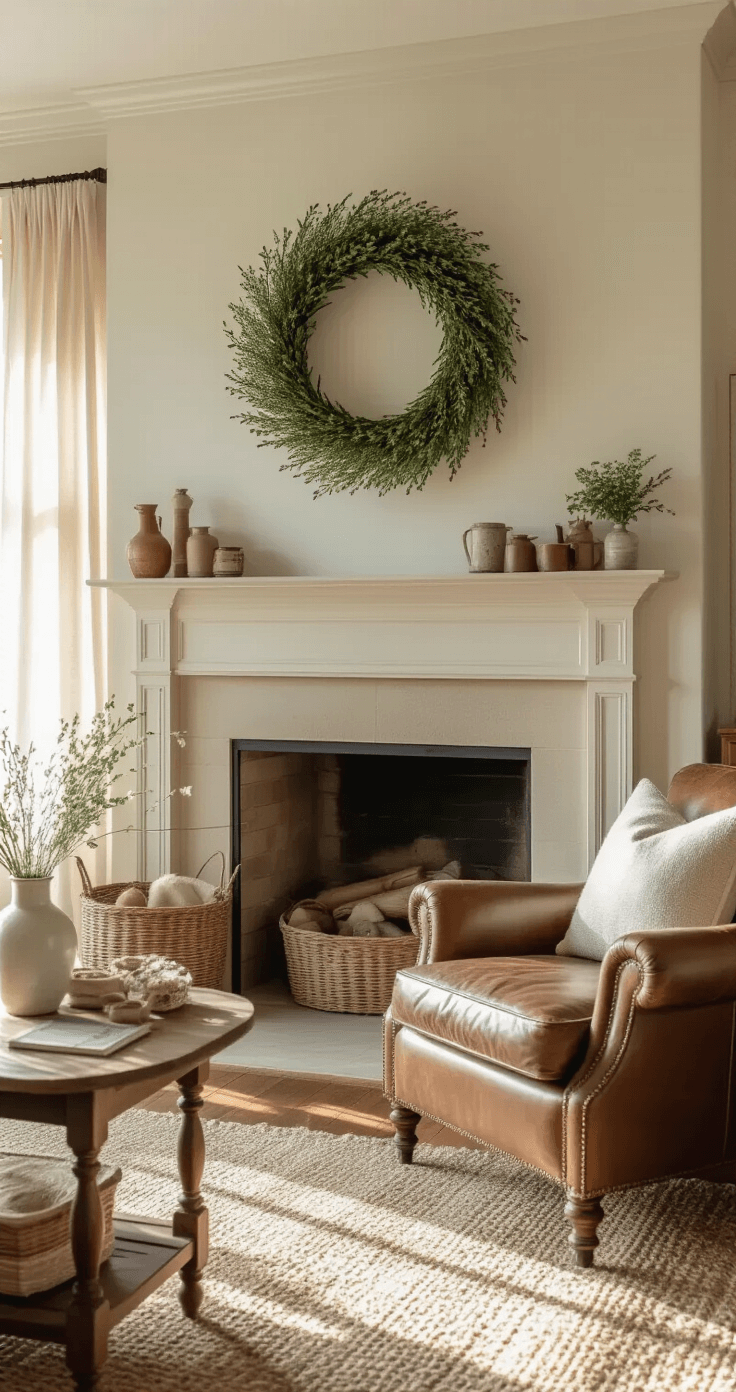
🏠 Steal This Look
- Paint Color: Sherwin-Williams Tricorn Black SW 6258
- Furniture: a slim console table with a drawer for wreath storage and supply organization
- Lighting: a daylight-simulating LED task lamp with adjustable arm for detailed mesh work
- Materials: galvanized metal bins for ribbon rolls, clear acrylic divider trays for embellishments, and a cork-topped work surface
I learned this the hard way after gifting a wreath where the burgundy ribbon looked chocolate brown in my kitchen light—now my craft corner is my most thoughtfully lit room in the house.
What Makes Mesh Wreaths So Popular?
Deco mesh wreaths sit at that perfect intersection of impressive-looking and surprisingly easy to make.
They’re built on wire frames and layered with colorful mesh that creates this gorgeous, textured dimension you just can’t get with traditional wreaths.
The best part?
You can customize them for literally any occasion—Christmas, fall harvest, spring florals, Fourth of July, or just because your door looks naked.
Here’s what you need to know upfront:
- Time investment: 1-3 hours (perfect afternoon project)
- Budget: $15-$75 depending on how fancy you want to go
- Skill level: Total beginner? You’ve got this.
- Reusability: The frame can be reused season after season
- Wow factor: Disproportionately high compared to effort
The Five Essential Techniques You Need to Master
I’m not going to sugarcoat it—when I first started making mesh wreaths, I thought there was just one way to attach mesh to a frame.
Wrong.
Dead wrong.
Understanding these five core techniques is what separates amateur-looking wreaths from the ones that make people stop and ask where you bought it.
The Poof Method
This is your bread and butter technique.
You gather the mesh, scrunch it up into a puffy bundle, and secure it to the frame with a pipe cleaner.
Simple, fast, and creates that full, abundant look that makes wreaths feel expensive.
I use this method for at least 70% of my wreaths because it just works.
The Ruffle Technique
Want something more refined?
The ruffle method involves folding your mesh lengthwise before gathering it, which creates these elegant, pleated edges.
It takes about 30% more time than the poof method, but the sophisticated finish is worth every extra minute.
This is my go-to for spring wreaths when I want something that looks tailored and intentional.
The Curl Method
Here’s where things get fun.
Instead of gathering the mesh at the center, you roll the edges inward before securing.
This creates these beautiful spiral effects and loops that add serious dimension.
I love mixing curled pieces with poofs for texture variation—it keeps the eye moving around the wreath instead of just seeing one flat surface.
The Woodland Ruffle (Minimum Fray)
If you’ve ever worked with mesh, you know it can fray like nobody’s business.
The woodland ruffle technique minimizes this by using a specific folding pattern that tucks the cut edges inward.
It’s slightly more advanced, but once you nail it, your wreaths look professionally finished.
No more fuzzy, unraveling edges after a few weeks on the door.
Combination Techniques
Once you’re comfortable with the basics, start mixing them.
Poof and Curl creates contrast between tight bundles and flowing spirals.
Curl and Ruffle delivers an upscale, boutique appearance.
Poof and Loop adds movement and playfulness.
I rarely stick to just one technique anymore—combining methods is what makes wreaths look custom and high-end rather than cookie-cutter.
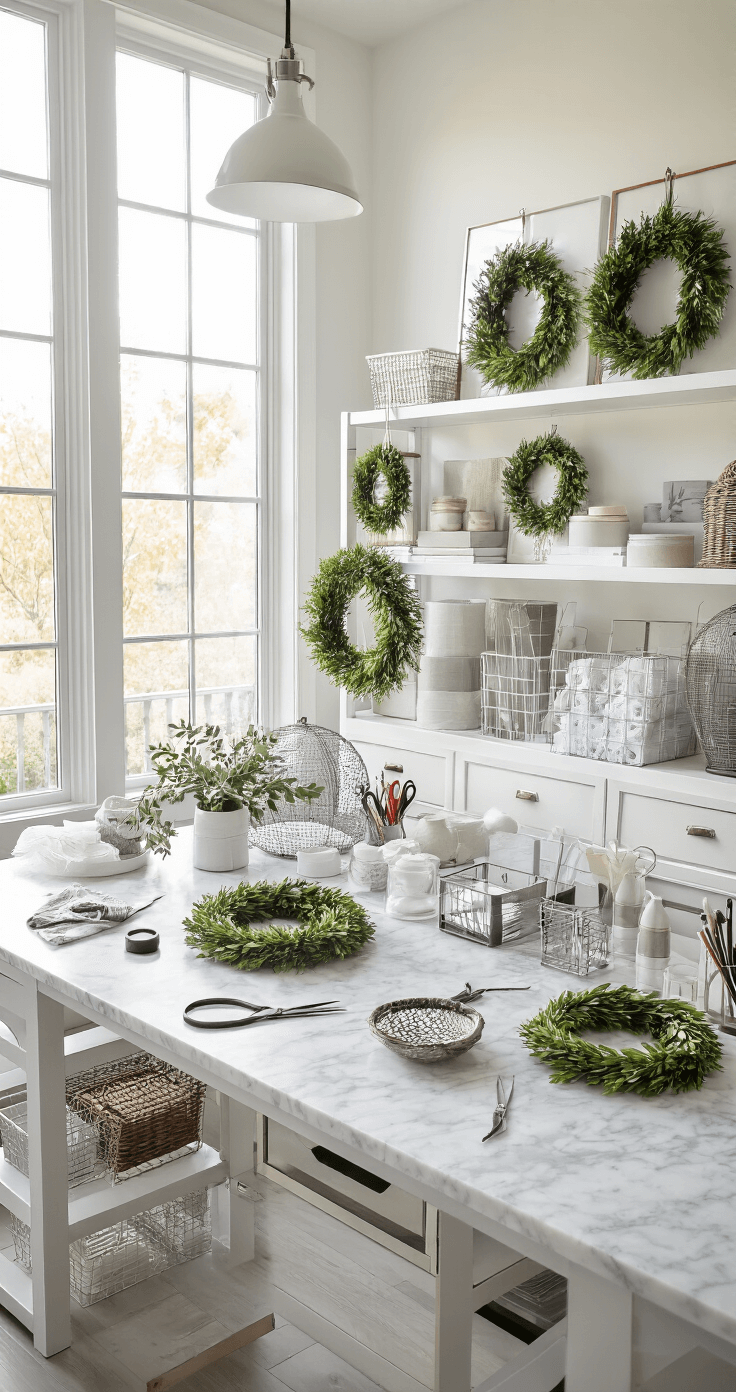
★ Steal This Look
- Paint Color: Farrow & Ball Pointing 2003
- Furniture: vintage farmhouse worktable with zinc top for wreath assembly
- Lighting: adjustable-arm brass architect’s lamp with warm LED bulb
- Materials: raw linen, weathered oak, galvanized metal, burlap ribbon spools
This is the room where you’ll lose track of time completely, fingers slightly raw from pipe cleaners, surrounded by the satisfying chaos of half-finished creations that somehow feel more alive than anything store-bought.
Gathering Your Supplies Without Breaking the Bank
I’ve seen people spend $100 on their first wreath project.
Don’t be that person.
Here’s what you actually need, with my honest take on each item:
The Non-Negotiables:
- Wire wreath frame (14-18 inches—go with 16 if you’re unsure)
- Deco mesh rolls in your chosen colors (10-inch width is the sweet spot)
- Pipe cleaners or chenille stems (buy bulk packs)
- Sharp scissors or rotary cutter
- Hot glue gun with extra glue sticks
Budget Hack Alert:
Dollar Tree carries decent deco mesh rolls for $1.25 each.
You’ll need 6-7 rolls for a full 16-inch wreath, which puts your base cost around $8-9.
Compare that to the $45-75 you’d pay for a pre-made wreath at a home décor store.
The Nice-to-Haves:
- Zip ties (helpful for extra-secure attachment)
- Wire cutters
- Ribbons in complementary colors
- Seasonal embellishments (ornaments, picks, signs)
- Floral wire
I keep a craft box with the basics so I can whip up a new wreath whenever the mood strikes without running to the store.

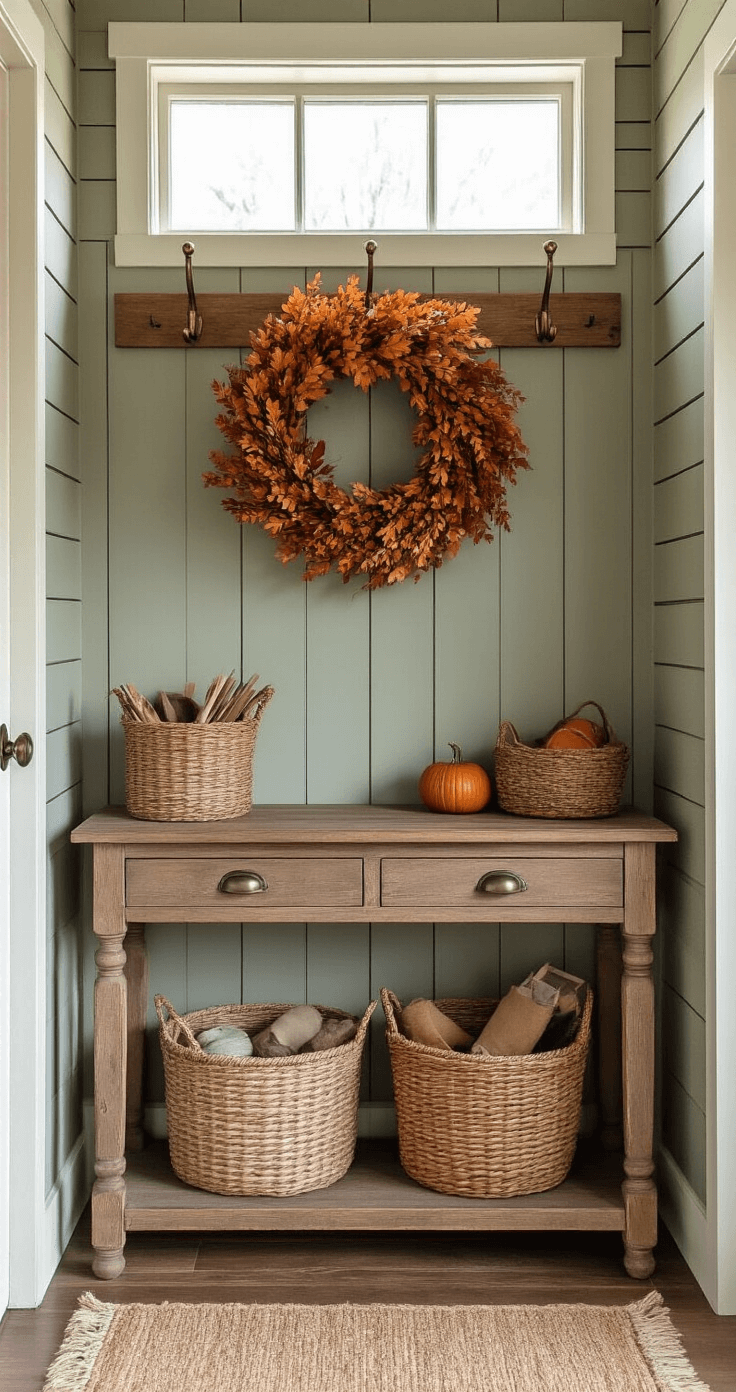
🎨 Steal This Look
- Paint Color: Behr Swiss Coffee 12
- Furniture: Sauder Craft Pro Series work table with built-in storage for organizing mesh rolls and supplies
- Lighting: Brightech LightView Pro LED magnifying clamp lamp for detailed wire work
- Materials: galvanized steel wire frames, polypropylene deco mesh, chenille pipe cleaners, cork board supply wall
I started my first wreath on my kitchen table with a $20 budget and a lot of YouTube pausing, and that scrappy setup taught me more than any expensive kit ever could.
Step-by-Step: Building Your First Mesh Wreath
Alright, let’s actually make this thing.
I’m walking you through a basic poof-method wreath because it’s foolproof for beginners and still looks absolutely stunning.
Prep Work (15 minutes)
Unroll your mesh and cut it into strips.
For a standard 16-inch wreath using the poof method, cut your strips 10-12 inches long.
You’ll need approximately
This post may contain affiliate links. Please see my disclosure policy for details.


