

Project Overview
Quick Style Snapshot
Let me give you the reality check right up front:
- Time needed: 1-2 hours max (I’m talking real time, not Pinterest fantasy time)
- Estimated cost: $20-50 if you’re resourceful, $100+ if you want to go all out
- Ideal space size: Any room works—but focus on the spots people actually see
- DIY skill level: If you can arrange flowers in a vase, you’re qualified
- Seasonal appeal: Mid-March through early April
Design Identity
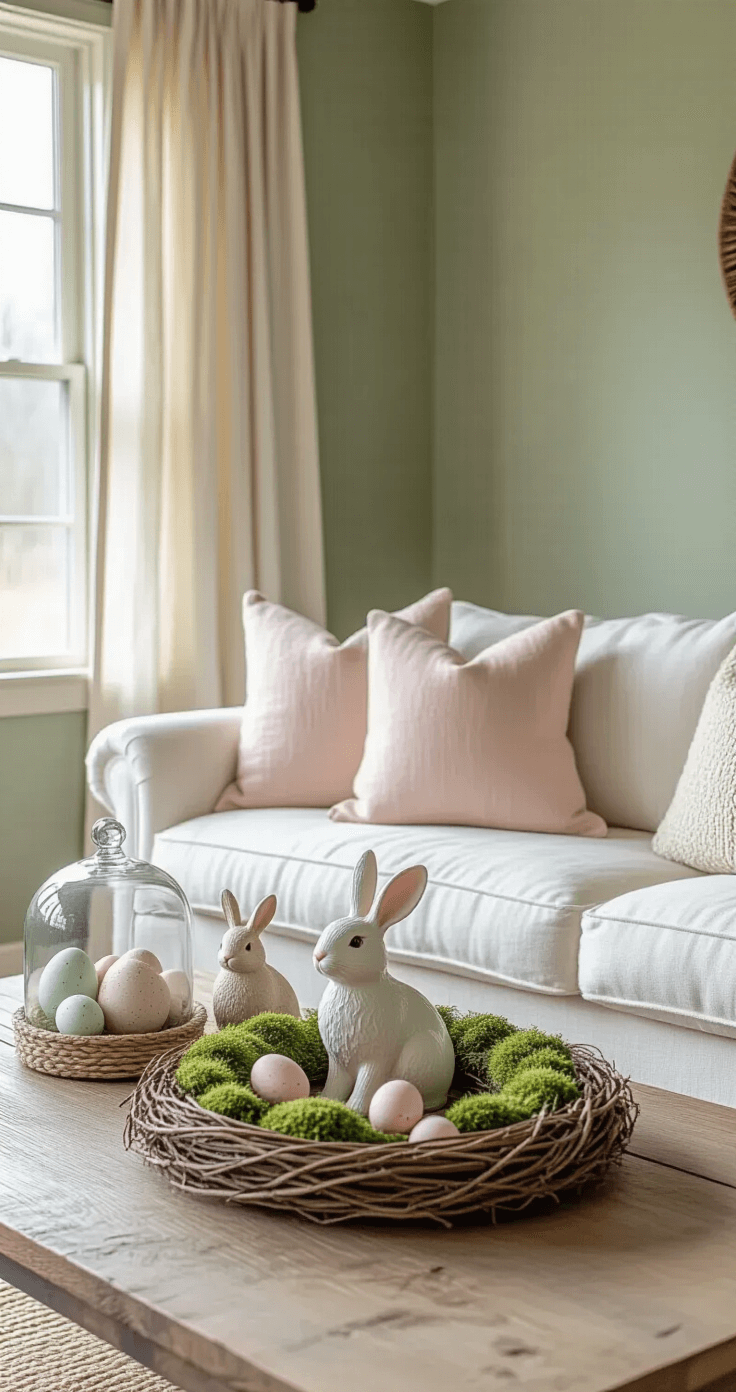
Easter decor boils down to three things: soft colors, natural textures, and adorable bunnies.
Think pale pinks that don’t make you cringe. Buttery yellows that feel like sunshine. Mint greens that whisper spring instead of screaming it.
The best materials are simple: wood, moss, ceramic, woven baskets, and flowers (fake ones work just fine—I won’t tell).
Focus on your living room, kitchen island, and dining table. Skip the bedrooms unless you’re genuinely obsessed.
Styling & Decor Essentials
Must-Have Items
I’m about to save you from buying a bunch of junk you’ll use once.
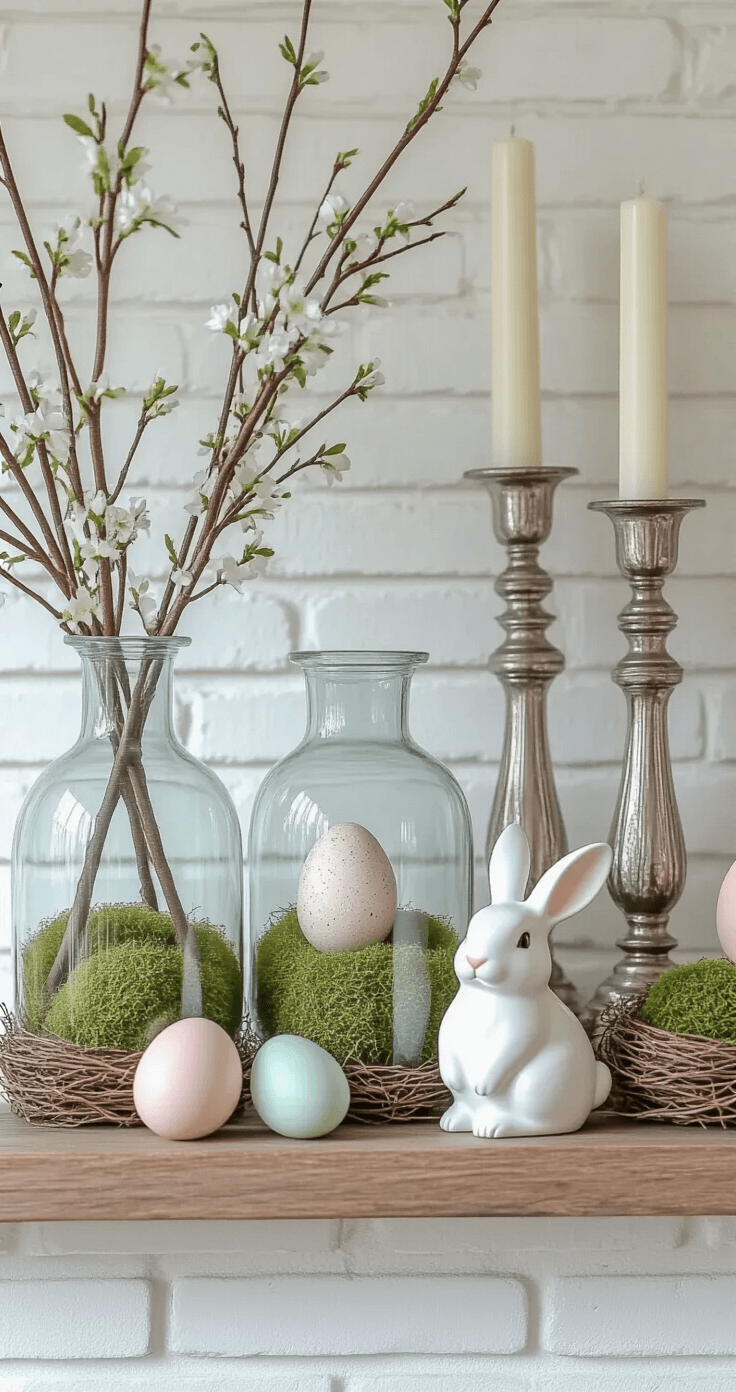
Glass vases are your secret weapon—fill them with pastel Easter eggs and Spanish moss, and suddenly you look like you know what you’re doing.
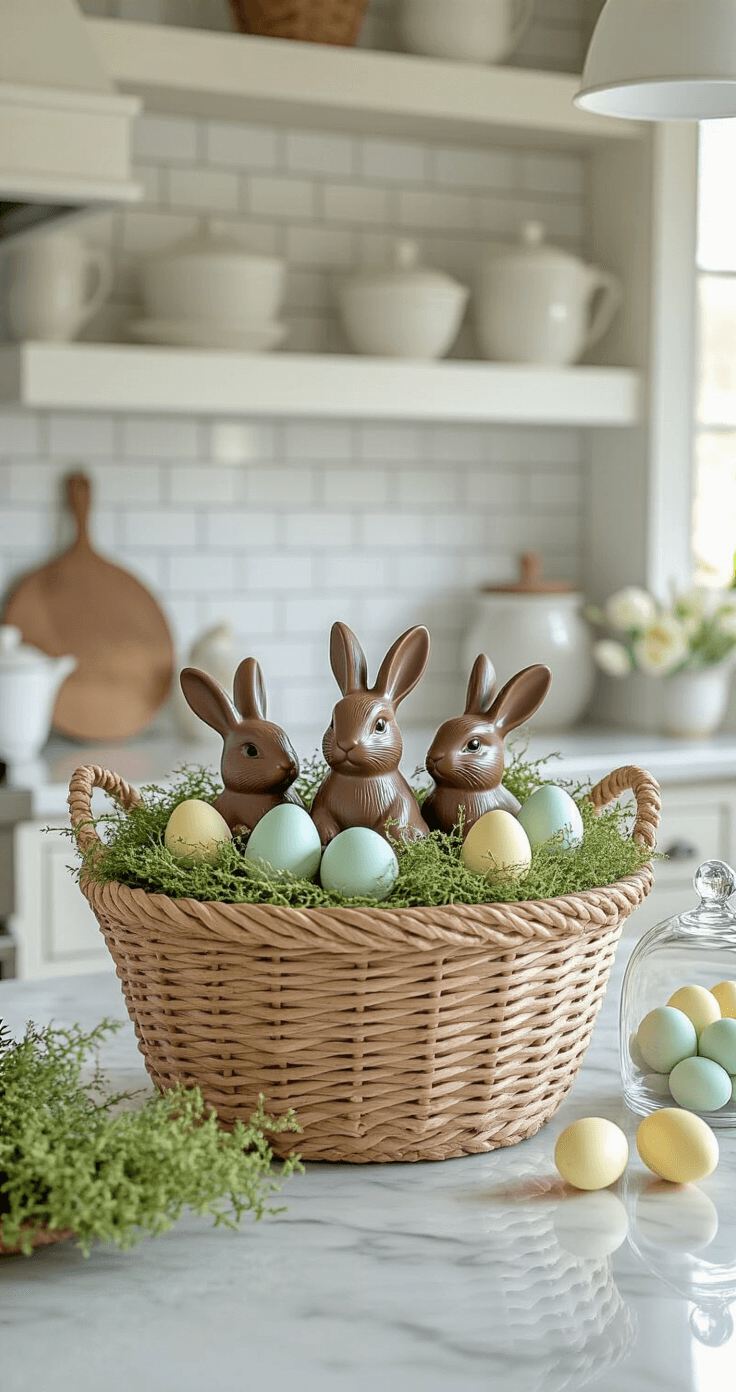
Woven baskets filled with faux chocolate bunnies and greenery create instant “I’ve got my life together” vibes.
Ceramic bunny figurines anchor everything—they’re like the punctuation marks of Easter decor.
One large dough bowl can become your entire dining table centerpiece when you fill it with moss, hydrangeas, tulips, and a vintage rabbit.

Complementary Decor
Here’s where you add the layers without going overboard:
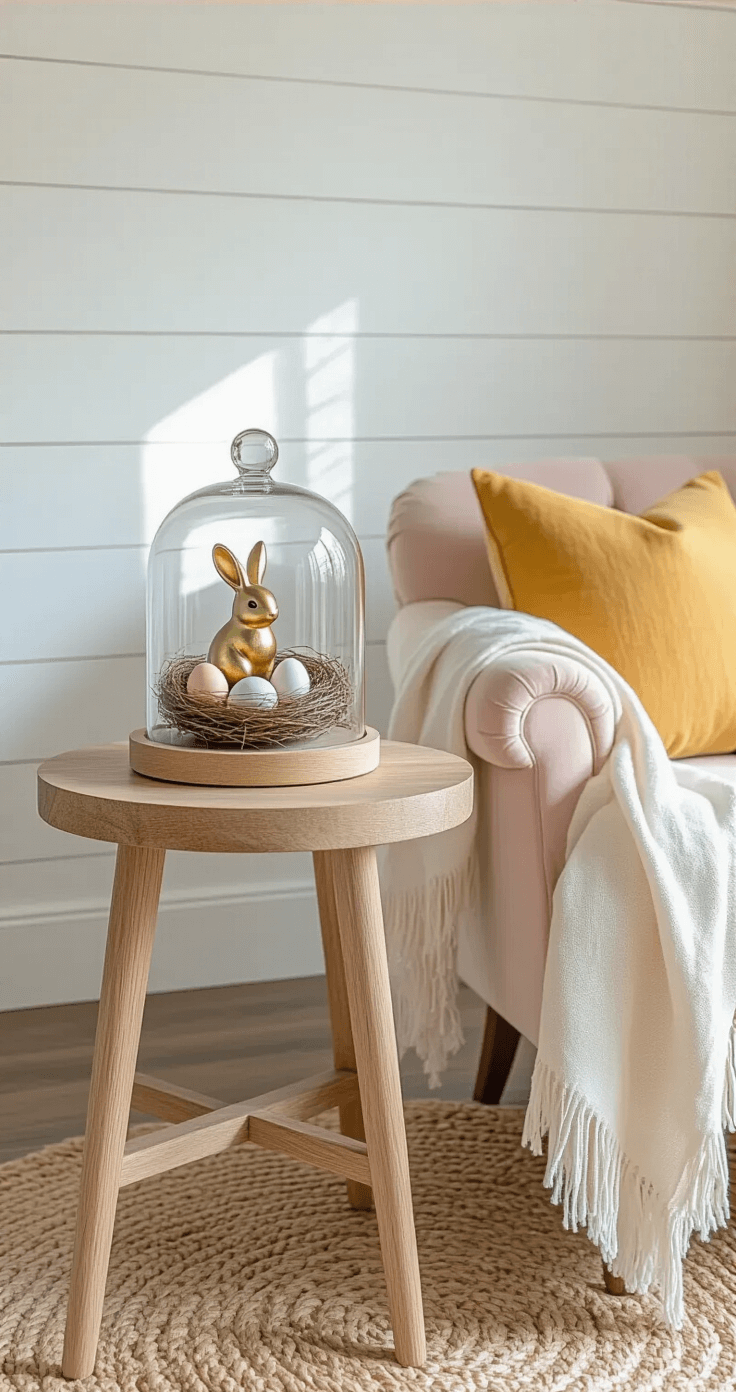
- Easter eggs displayed in glass cloches or scattered in bowls
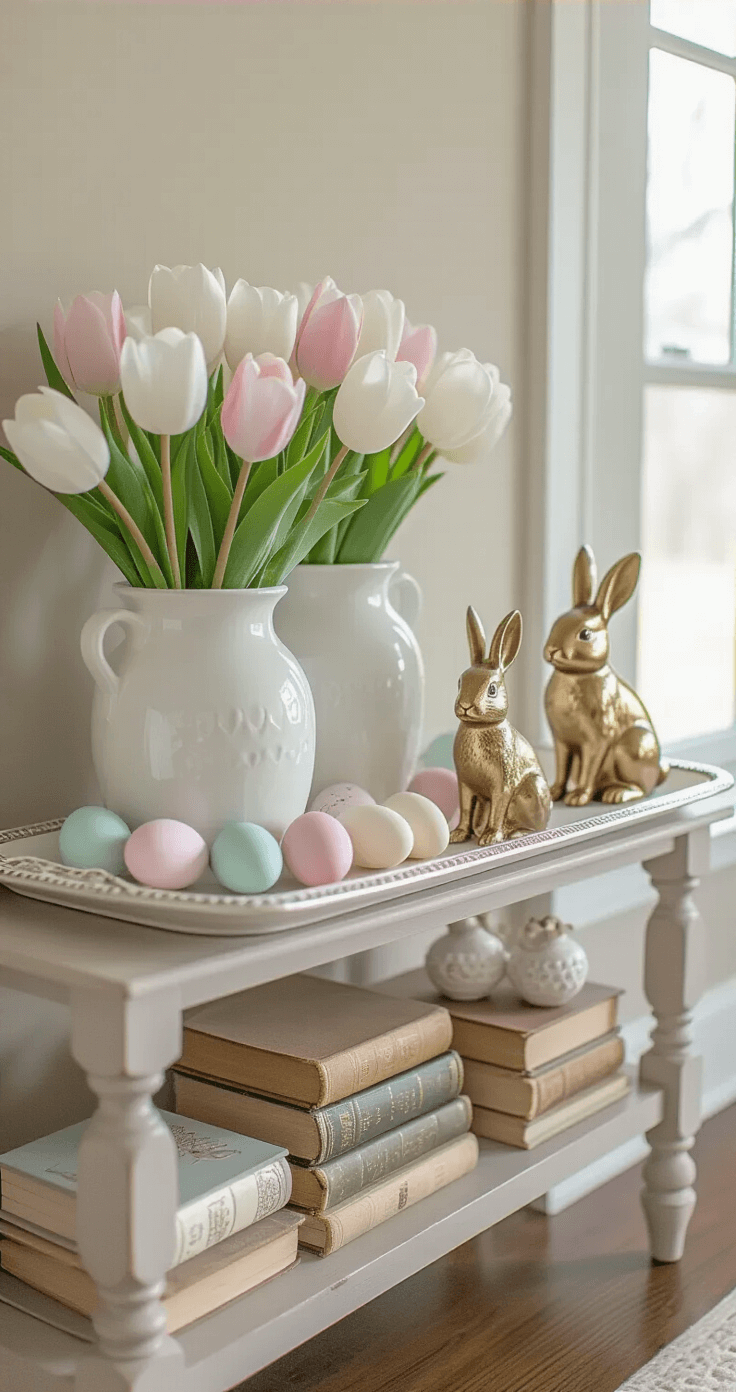
- Fresh or faux tulips—white hydrangeas, ranunculus, daffodils
- Grapevine wreaths as bases for natural nests
- Table runners in soft yellows or fresh linens
- Mirror and glass elements like milk glass containers for elegant reflection
Pro tip: white hydrangeas never look cheap, even when they’re fake.
Signature Accessories
Want to know what separates “cute” from “designer-level cute”?
Decorative glass cloches make everything look intentional.
Stack objects at different heights using books or overturned bowls—flat displays are boring.
Gold or metallic bunny figurines add sophistication (yes, sophisticated bunnies are a thing).
Monogrammed Easter eggs as place cards feel custom without the custom price tag.
DIY Enhancements
I’m not naturally crafty, but even I managed these:
- Painted eggs using stencils and craft paint—use washi tape for patterns, then seal with Mod Podge
- DIY tulipières by stacking vases at different heights and filling them with spring blooms
- Bottle brush carrots spray-painted orange with raffia tops
- Macramé egg holders from yarn, or beaded versions from painted wooden beads and floral wire
- Painted wooden table runners in soft yellows arranged in patterns
The trick is picking ONE project, not attempting all five in a panic the night before.
Pro Styling Tips
Start with something substantial—a decorative urn or potted plant.
Add a bunny figurine on top of stacked books for instant height.
Use trays to contain your chaos—everything looks more polished when it’s corralled.
Stack plates, roll napkins, add faux tulips within the tray’s boundaries.
Include fresh or faux greenery like tulips and palm leaves for that “just picked” feeling.
Replace winter elements gradually—swap bright yellow lemons for large pastel eggs, using Spanish moss to fill gaps.

Setup & Execution
Scene Prep Checklist
Clear your display areas first. No cheating by shoving winter stuff behind the couch.
Remove winter or neutral decor from your coffee table, mantel, kitchen island, or dining table.
Gather all your Easter items before you start. Do a test arrangement before committing.
Make sure your lighting shows off the colors and details.
This post may contain affiliate links. Please see my disclosure policy for details.


