

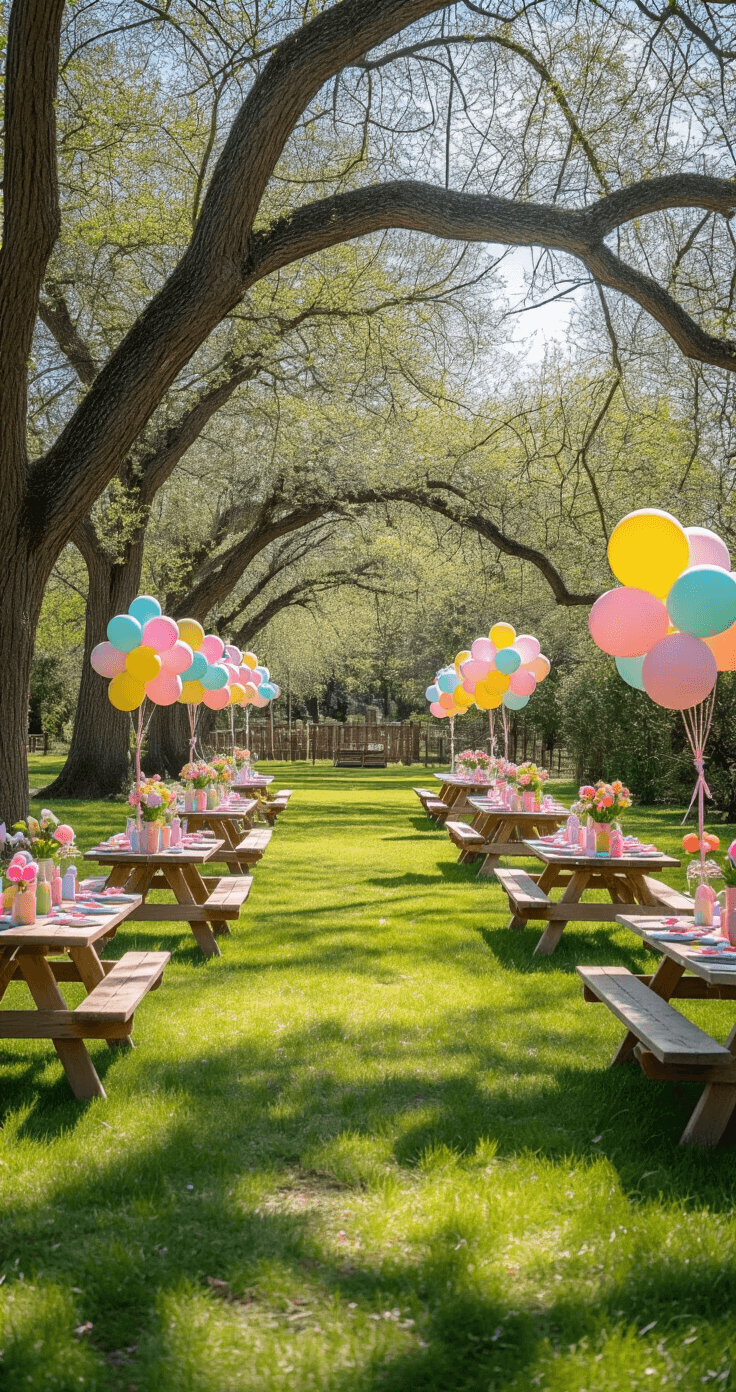
Easter Balloon Decor That’ll Make Your Neighbors Wonder What Magic You’ve Been Up To
Easter balloon decor transforms your home into a cheerful spring wonderland without requiring a master’s degree in party planning.
I remember my first attempt at balloon decorating – let’s just say my “elegant arch” looked more like a deflated caterpillar having an identity crisis.
But here’s what I’ve learned: anyone can create stunning Easter balloon displays with the right guidance and a little patience.
Why Your Easter Deserves More Than Dollar Store Garland
You’ve seen those Pinterest-perfect Easter parties and wondered how people pull it off.
Maybe you’re worried about the cost.
Perhaps you think you’re not “crafty enough.”
I get it – I stood in that same spot three years ago, staring at a pile of balloons with absolutely no idea where to start.
The truth? Easter balloon decorations are actually way more forgiving than you’d think, and they create visual impact that regular decorations simply can’t match.
What You’re Getting Into (The Honest Truth)
Let me break down what creating Easter balloon decor actually involves:
Time commitment:
- Simple arrangements: 30-45 minutes
- Medium garlands or arches: 1-2 hours
- Elaborate character displays: 2-3 hours
Money talk:
- Budget-friendly route: $20-50 (basic supplies from your local party store)
- Mid-range setup: $50-100 (quality balloons and proper tools)
- Go-big-or-go-home: $100-150+ (specialty balloons, professional kits)
I usually land somewhere in the middle – around $60 gets you far enough to impress without eating into your Easter dinner budget.
The Essential Gear You Actually Need
Forget those complicated supply lists that look like you’re preparing for a NASA launch.
Here’s what genuinely matters:
Your balloon collection:
- Pastel latex balloons in pink, purple, yellow, teal, and blue (get the 10-12 inch variety as your base)
- Smaller 5-inch balloons for layering
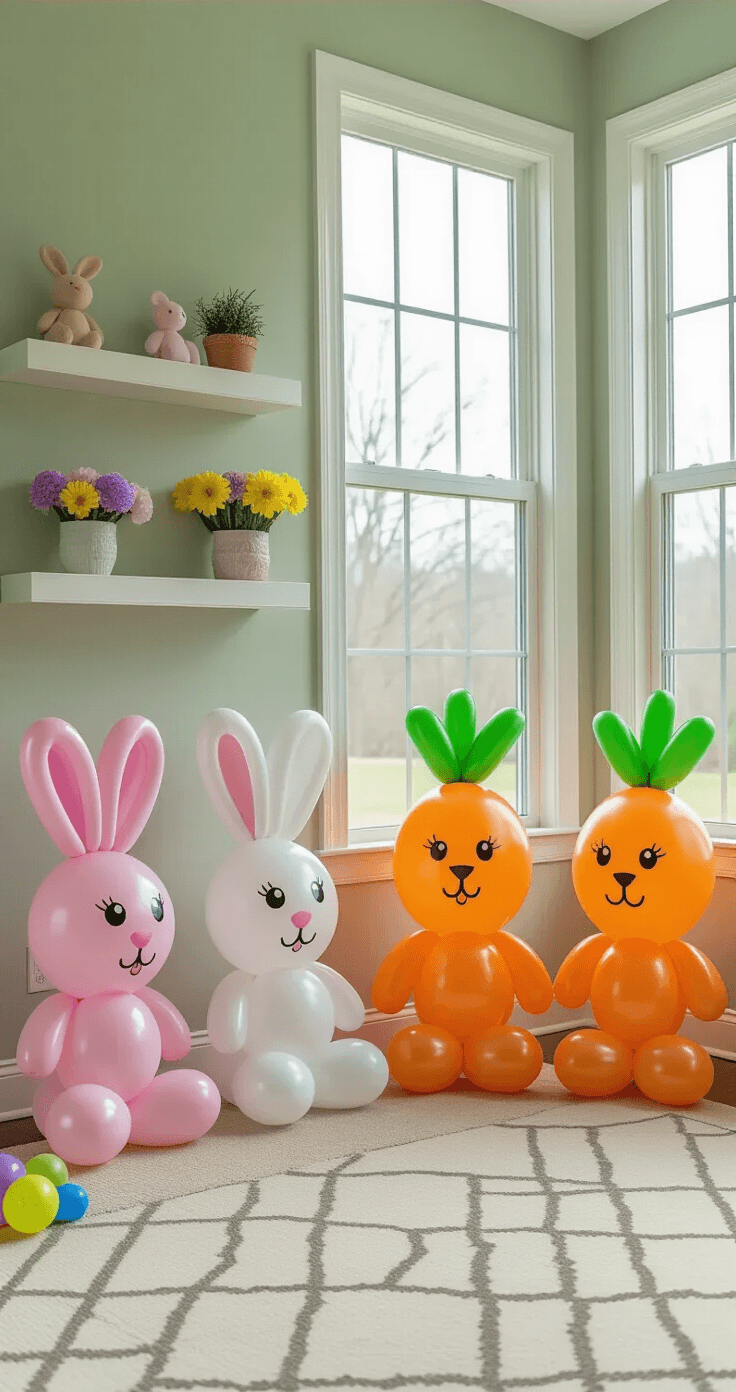
- 260 modeling balloons if you’re feeling adventurous with character designs
The tools that save your sanity:
- Balloon glue dots – seriously, these little adhesive circles are absolute lifesavers
- 20 lb fishing line for invisible hanging (way better than visible ribbon)
- Hand balloon pump unless you want to pass out from hyperventilation
- Curling ribbon for finishing touches
The extras that elevate everything:
- Artificial greenery vines (Dollar Tree has these for literally a buck)
- Foam board for creating standees
- Cotton balls and pearl beads for texture
I learned the hard way that skipping the glue dots means watching your carefully arranged balloons slowly migrate across the room like confused little clouds.
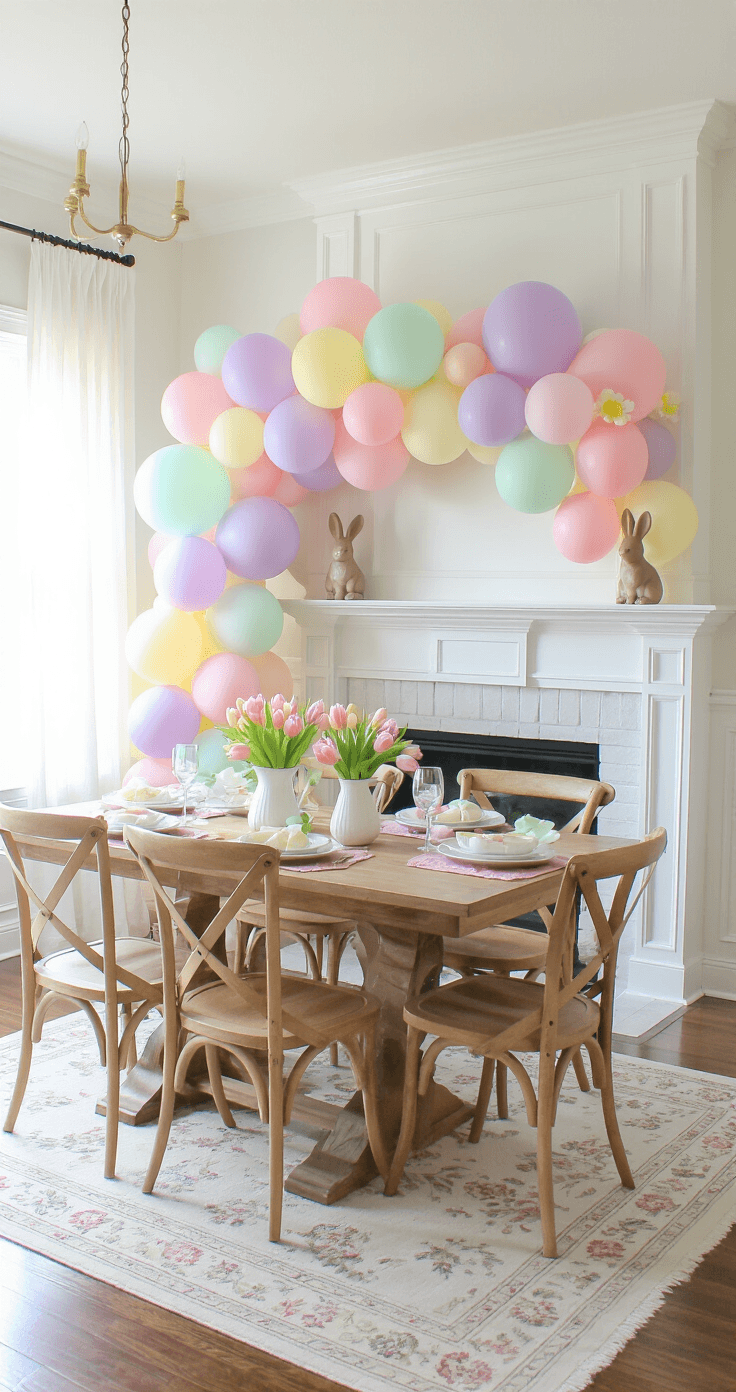
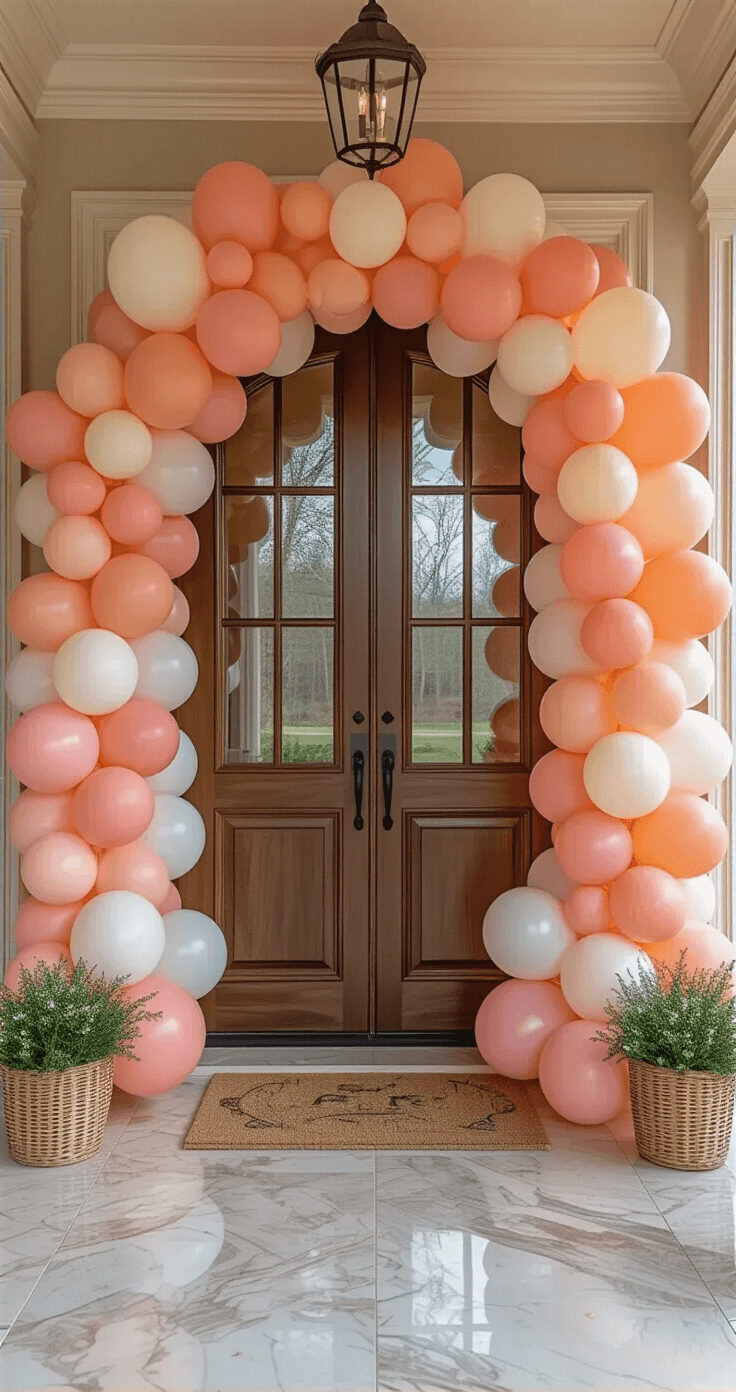
Creating Your First Balloon Garland (Without Losing Your Mind)
The balloon garland is your gateway drug to Easter balloon decor.
It looks complicated but follows a beautifully simple pattern.
Step 1: Inflation station
Blow up your balloons to varying sizes – and I mean actually varying, not “I tried to make them different but they’re all basically the same.”
- Aim for clusters of:
- 3-4 large balloons (10-12 inches)
- 2-3 medium balloons (7-8 inches)
- 4-5 small balloons (4-5 inches)
This variation creates visual interest instead of that “uniform blobs on a string” look.
Step 2: Cluster building
Grab two balloons and tie them together at the knots.
Take another pair and twist them around the first pair.
Boom – you’ve got a balloon quad.
Repeat until you have 10-12 quads.
My living room looked like a pastel explosion during this phase, and my cat thought I’d created the world’s best toy collection.
Step 3: String it together
Run your fishing line through the center of each quad, twisting as you go.
The quads should nestle together naturally – don’t force them into submission or you’ll end up with sad, squished balloons.
Step 4: Fill the gaps
This is where those smaller balloons shine.
Use your balloon glue dots to attach 5-inch balloons wherever you see gaps.
Add greenery vines by weaving them through or attaching with more glue dots.
The whole thing should look full and dimensional, not flat and sad.
The Balloon Flower Trick That Impresses Everyone
Balloon flowers are stupidly easy but look incredibly impressive.
Here’s my foolproof method:
For each flower you need:
- 5 balloons in one color (inflated to about 7 inches)
- 1 contrasting center balloon (inflated to about 4 inches)
Assembly:
Tie your five balloons together in a circle – each balloon knot connects to the next balloon’s knot.
It’ll naturally want to form a flower shape.
Attach your small center balloon with a glue dot right in the middle.
I make 6-8 of these in different color combinations and scatter them throughout my garland or
This post may contain affiliate links. Please see my disclosure policy for details.


