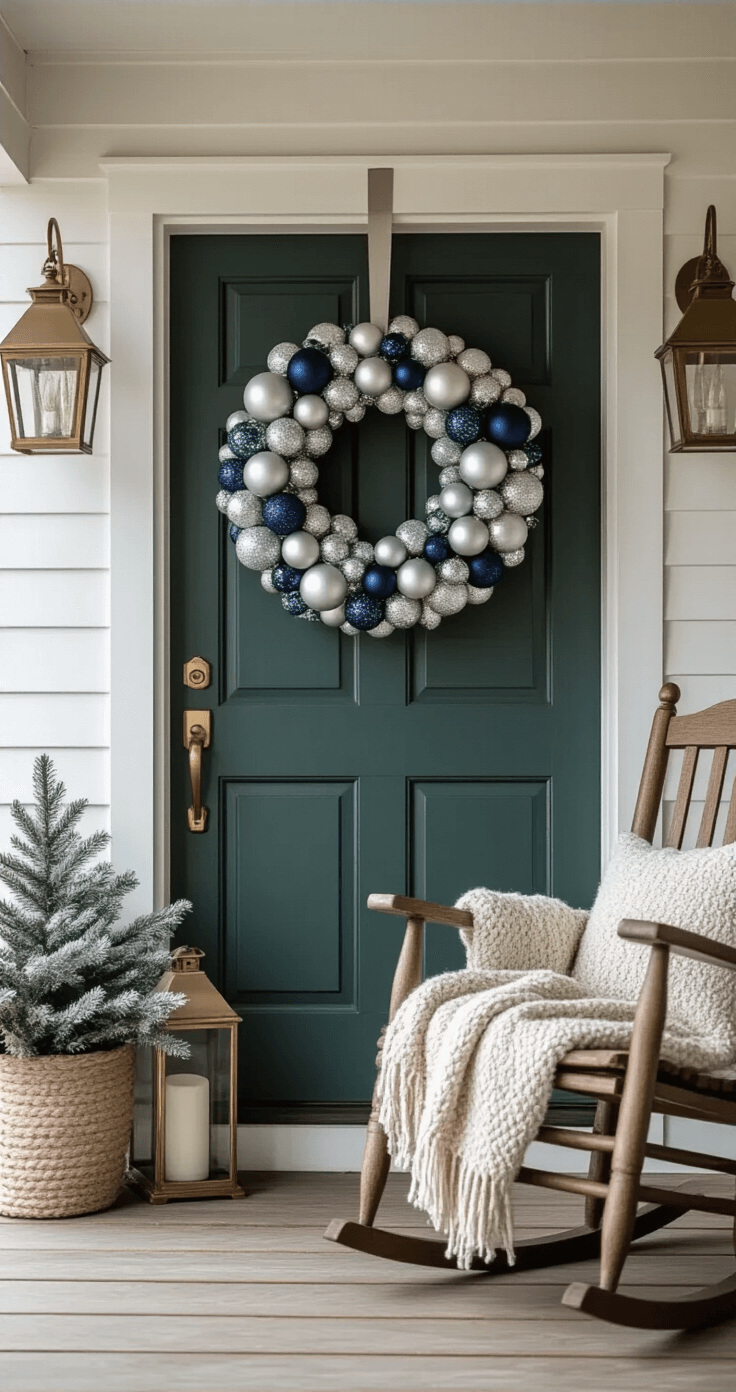
Holiday Wreaths That’ll Make Your Front Door the Talk of the Neighborhood
Contents
Holiday wreaths are about to become your new favorite DIY project, and I’m going to show you exactly how to nail them without spending a fortune or losing your mind in the process.
Let me be honest with you right from the start.
I used to walk past those gorgeous wreaths at fancy boutiques and think, “Yeah, no way I’m dropping $150 on glorified twigs and ribbon.”
But then I tried making my own, and something clicked.
Not only did I save a ridiculous amount of money, but I actually enjoyed the process—and my neighbors wouldn’t stop asking where I bought mine.
Spoiler: I didn’t.

Why Your Front Door Needs a Killer Wreath Right Now
Look, your front door is the first thing people see when they visit.
It’s like the cover of a book, and right now, yours might be saying “nothing to see here, move along.”
A stunning wreath changes that conversation entirely.
It says you care about details, you’ve got style, and you’re not afraid to show a little personality.
Plus, there’s something deeply satisfying about creating something beautiful with your own hands that transforms your entire home’s exterior.
The Simple Truth About Making Holiday Wreaths
Here’s what nobody tells you: making wreaths isn’t some mysterious craft that requires years of training.
You need three things:
- A base (the foundation of your wreath)
- Decorative elements (greenery, ornaments, whatever speaks to you)
- Something to attach everything together (wire, hot glue, or zip ties)
That’s it.
Everything else is just details and personal preference.
I’m going to walk you through several approaches, from dead-simple to impressively elaborate, so you can pick what works for your skill level and available time.

My Favorite Fast-Track Option: Cornflake Wreaths
Before you roll your eyes, hear me out.
These edible wreaths are perfect if you’ve got kids, limited time, or you just want something fun and nostalgic.
I make these every year, and they disappear faster than I can say “hands off until after dinner.”
Here’s what you need:
- 3 tablespoons of butter
- A bag of mini marshmallows
- Green food coloring (the more the better for that festive look)
- About 6 cups of cornflakes
- Red cinnamon candies for decoration
- Nonstick cooking spray
The process takes 20 minutes, tops:
Melt your butter and marshmallows together in a large pot over medium heat.
Once everything’s smooth and combined, add your green food coloring—don’t be shy here, you want a proper Christmas green, not some sad celery color.
Remove from heat and fold in your cornflakes until every piece is coated.
Now here’s the trick: spray your hands generously with nonstick cooking spray before shaping.
Trust me on this.
Without it, you’ll be washing marshmallow off your hands until Easter.
Shape the mixture into wreath forms on parchment paper, press in your red candies to look like berries, and let them set for about 15 minutes.
Done.
Your kids will love making these, and they actually look charming hanging on your kitchen cabinets or given as gifts to neighbors.
The Real Deal: Evergreen Wreaths That Smell Like Christmas
This is where things get properly festive.
Nothing—and I mean nothing—beats the smell of fresh evergreen in your home during the holidays.
I made my first real evergreen wreath three years ago, and I’ll never go back to fake ones.
The scent alone is worth the extra effort.
Gathering your greenery:
You need to think about variety here.
Mix different textures and shades of green for depth and visual interest.
My go-to greenery options include:
- American Holly (those red berries are chef’s kiss)
- Boxwood (gives you that dense, lush look)
- Western Juniper (adds texture and character)
- White Pine (soft, classic, and smells incredible)
- Cedar (another fantastic fragrance option)
Cut your branches into similar-sized pieces, roughly 6 to 8 inches long.
You’ll need about 7-8 substantial branches for a 14-inch wreath.
Setting up your base:
Grab a wire wreath frame from any craft store—they’re dirt cheap and reusable.
You’ll also need 24-gauge floral wire.
Don’t try using regular wire or string; floral wire is flexible enough to work with but strong enough to hold everything in place.
The assembly process:
Create hand-sized bundles of mixed greenery.
This is where the magic happens—mixing different types in each bundle creates that expensive, designer look.
Attach your first bundle to the frame with your floral wire, wrapping it several times to secure.
Here’s the secret: alternate the direction each bundle points.
One bundle points clockwise, the next counterclockwise.
This technique creates fullness and prevents that sad, one-directional look you see on cheap wreaths.
The closer you position your bundles together, the fuller your wreath will look.
Don’t leave gaps thinking you’ll fill them later—position them tightly from the start.
Keep adding bundles, overlapping each one to hide the wire and stems of the previous bundle, working your way around the entire frame.
Step back occasionally to check for any thin spots or bald patches.
Styling your evergreen wreath:
Once your base is solid and full, it’s time to add personality.
I like to keep things relatively simple here—the greenery should be the star.
- Pinecones (spray paint them gold or leave them natural)
- Red berries (real or faux, both work beautifully)
- A gorgeous ribbon bow (more on this in a minute)
- Small ornaments tucked strategically into the greenery
Important tip about displaying evergreen wreaths:
Choose a location with minimal direct sunlight.
I learned this the hard way when my first wreath turned brown and crispy within a week because I hung it where afternoon sun blasted it daily.
Covered porches work perfectly.
If you’re
This post may contain affiliate links. Please see my disclosure policy for details.