
DIY Wreaths for Front Door Christmas Decorations: Your Complete Holiday Crafting Guide
Contents
- DIY Wreaths for Front Door Christmas Decorations: Your Complete Holiday Crafting Guide
- Why Bother Making Your Own Wreath?
- Quick Reality Check: What You’re Getting Into
- The Foundation: Choosing Your Wreath Base
- Essential Tools You’ll Actually Use
- Traditional Greenery Wreath: The Classic Approach
- Budget-Friendly Dollar Store Wreaths That Don’t Look Cheap
DIY wreaths for front door Christmas decorations are the perfect way to welcome guests with personality and festive cheer without breaking the bank.
I’ll be honest with you—the first wreath I ever made looked like a hot mess. Glue gun burns on three fingers, pine needles everywhere, and a lopsided disaster that my neighbor politely called “rustic.” But here’s the thing: even that terrible first attempt made me smile every time I walked through my door that December.
🖼 Steal This Look
- Paint Color: Sherwin-Williams Tricorn Black SW 6258
- Furniture: weathered teak entryway bench with hidden storage
- Lighting: oversized black iron lantern pendant with flickering LED candle insert
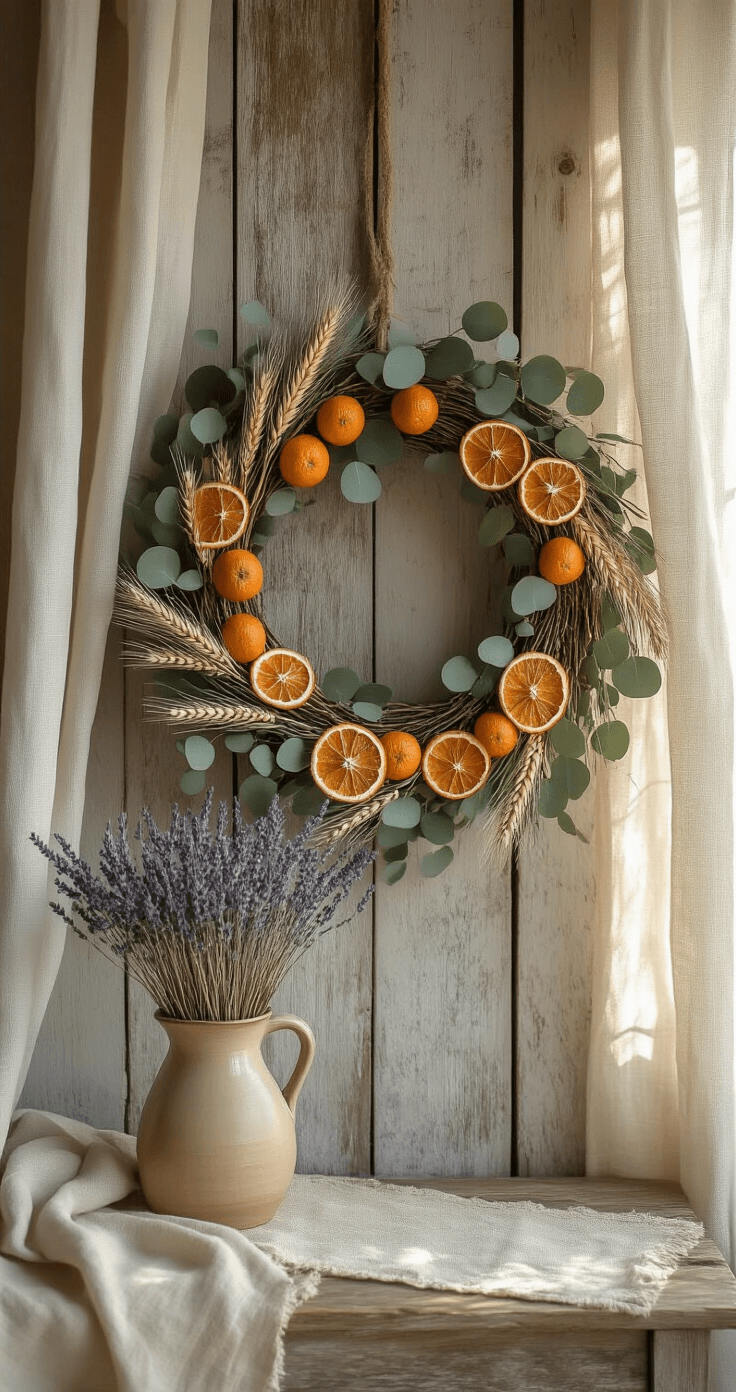
- Materials: fresh Fraser fir branches, dried orange slices, cinnamon sticks, burlap ribbon, galvanized wire forms, matte black metal hooks
There’s something deeply satisfying about hanging something you made with your own hands where every neighbor and delivery driver will see it—imperfections become part of the story.
Why Bother Making Your Own Wreath?
You’re probably wondering if it’s worth the effort when Target has perfectly decent wreaths for $29.99. Fair question.
Here’s what changed my mind: customization, cost savings, and the simple satisfaction of creating something with your own hands. Store-bought wreaths look like everyone else’s wreaths. Your DIY version? That’s a conversation starter.
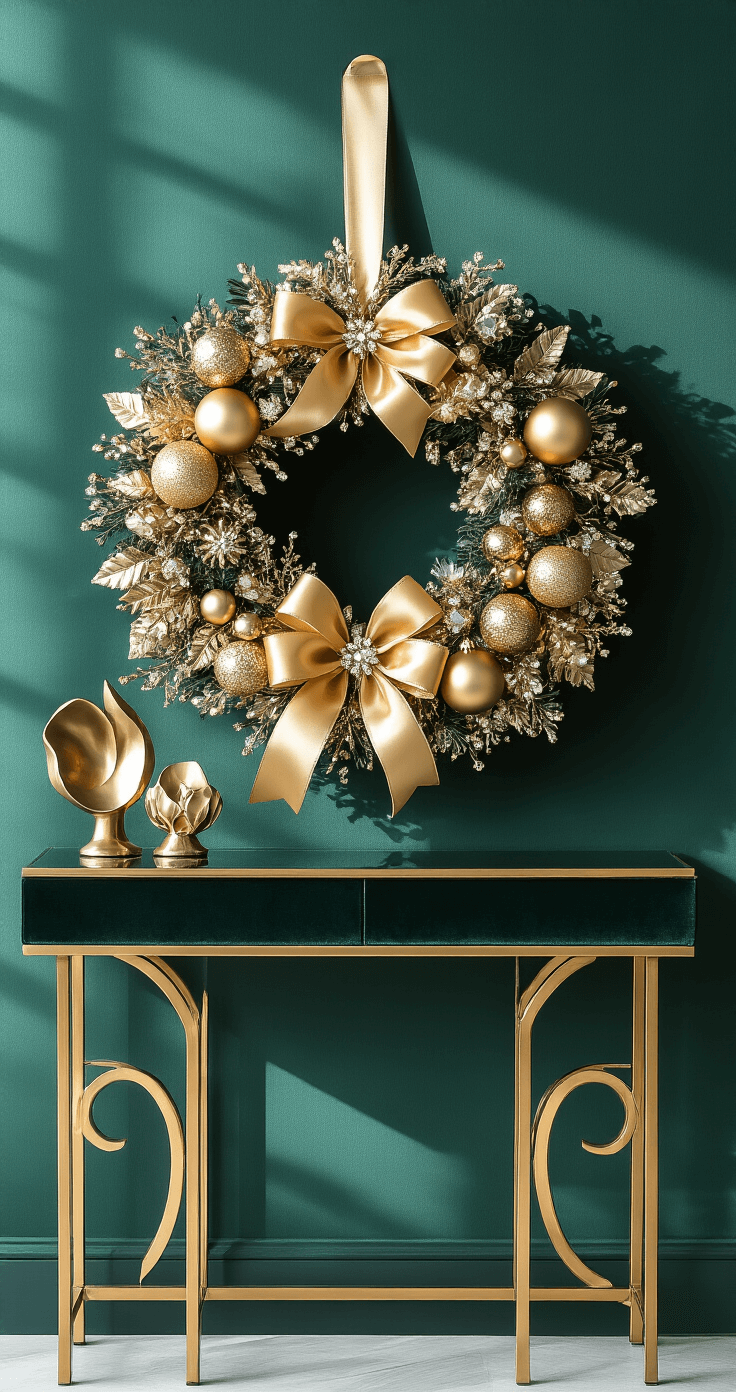
Plus, you control the color palette, size, style, and every single embellishment. Got a specific shade of ribbon that matches your shutters? Use it. Want oversized ornaments that make a statement? Go for it. Prefer a minimalist Scandinavian vibe over traditional red-and-green? It’s your front door.
Quick Reality Check: What You’re Getting Into
Time investment: 1-3 hours depending on complexity
Budget range: $10-$75 (seriously—I’ve done both ends of this spectrum)
Skill level required: If you can use scissors and tie a bow, you’re qualified
Mess factor: Moderate (pine needles will find their way into places you didn’t know existed)
The Foundation: Choosing Your Wreath Base
Every wreath needs something to build on. Your base determines the final size, shape, and how easy the assembly process will be.
Wire frames are my go-to for traditional greenery wreaths. They’re sturdy, affordable, and give you something solid to attach materials to. You can find wire wreath frames in various sizes—14 to 18 inches work beautifully for standard front doors.
Foam wreath forms excel when you’re planning to completely cover the base with fabric, felt, or densely packed materials. The downside? They’re harder to work with for fresh greenery since you’ll need floral picks or tons of hot glue.
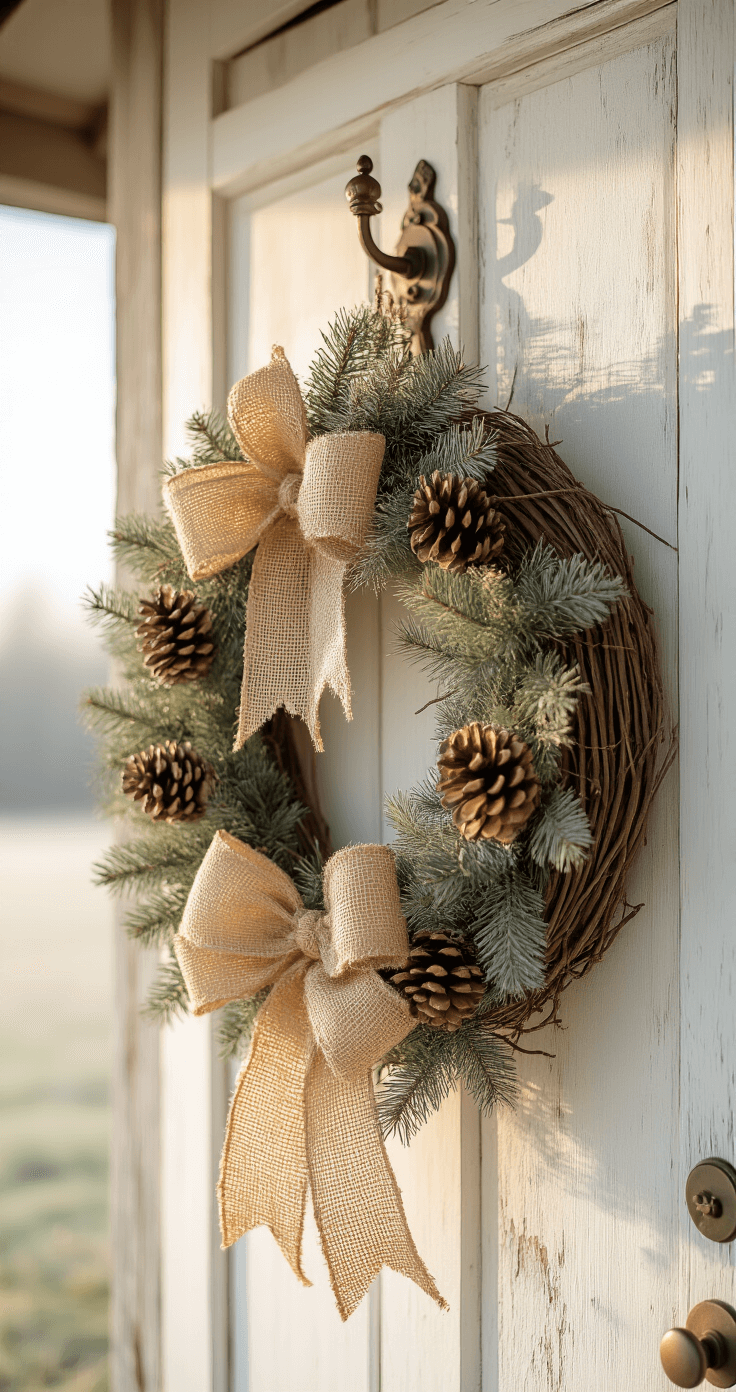
Grapevine wreaths bring instant rustic charm. They work wonderfully as-is with minimal decoration, or as a textured foundation for layered designs.
Embroidery hoops create modern, minimalist wreaths that feel fresh and unexpected. I made one last year with a simple embroidery hoop, eucalyptus sprigs, and a velvet ribbon—it took 20 minutes and cost $12.

★ Steal This Look
- Paint Color: use Behr brand. Match the ACTUAL wall color in the image. Format: Behr ColorName CODE
- Furniture: specific furniture for this room
- Lighting: specific lighting fixture
- Materials: key textures and materials
There’s something deeply satisfying about holding a raw wreath base and knowing you’re about to transform it into the first greeting every guest receives—this is where your front door story begins.
🌊 Get The Look
Essential Tools You’ll Actually Use
Don’t overthink the equipment. Here’s what I keep in my wreath-making kit:
Hot glue gun and glue sticks – Non-negotiable. Get a high-temperature glue gun that heats quickly and invest in extra glue sticks. You’ll use more than you think.
Floral wire – For attaching greenery, creating hanging loops, and securing ribbon. The green kind blends better with natural materials.
Wire cutters – Regular scissors won’t cut it (pun intended). You need something that handles both floral wire and coat hangers without destroying your hands.
Garden pruners – Essential if you’re working with fresh or faux greenery. They create clean cuts that look professional rather than mangled.
Ribbon – This deserves its own category. Get wired ribbon that holds its shape when you create bows. Unwired ribbon looks sad and droopy by day three.
★ Steal This Look
- Paint Color: Valspar Ultra White 7006-24
- Furniture: a compact folding craft table with storage shelves that tucks against the wall when not in use
- Lighting: a daylight-balanced LED task lamp with adjustable arm and magnifying attachment
- Materials: unfinished pine pegboard for vertical tool storage, galvanized metal buckets for supply organization, and a cork-backed craft mat to protect surfaces
I’ve ruined enough ribbon and blistered my hands on dull tools to know that this small collection is genuinely all you need—everything else is just marketing noise that ends up dusty in a closet.
Traditional Greenery Wreath: The Classic Approach
This is where most people start, and for good reason. It looks expensive, smells amazing, and impresses your mother-in-law.
Step-by-step process:
Grab your wire frame and a spool of floral wire. Don’t cut the wire from the spool—you’ll work directly from it.
Secure the wire to your frame by wrapping it around several times. Pull it tight so it doesn’t slide.
Create small bunches of greenery—3 to 4 pieces layered together. Put larger pieces in back, smaller in front for dimension.
Place your first bunch against the frame and wrap the floral wire around the cut ends 2-3 times. Pull tight. Really tight. Tighter than that.
Add your next bunch slightly lower than the previous one, overlapping to hide the stems. Wrap wire 2-3 times, pull tight, repeat.
Continue around the entire frame. When you get back to the start, lift the first bunch and tuck your final bunch underneath for a seamless look.
Create a wire loop for hanging and trim any wonky pieces with pruners.
Pro tip: For a 14-inch wreath, expect to use about 25 large greenery branches. Sounds like a lot, but it creates that full, lush look you’re going for.
★ Steal This Look
- Paint Color: use PPG brand. Match the ACTUAL wall color in the image. Format: PPG ColorName CODE
- Furniture: specific furniture for this room
- Lighting: specific lighting fixture
- Materials: key textures and materials
There’s something deeply satisfying about building a classic greenery wreath from scratch—it’s the holiday craft that connects you to generations of makers who did exactly this on their own front porches.
Budget-Friendly Dollar Store Wreaths That Don’t Look Cheap
I’m going to let you in on a secret: some of my favorite wreaths started at Dollar Tree.
The key is thoughtful arrangement and layering. Random stuff hot-glued to a foam form looks exactly like what it is. Carefully composed materials look intentional regardless of their price point.
My favorite Dollar Store formula:
- One foam wreath form ($1.25)
- Three or four picks of coordinating greenery/berries/flowers ($1.25 each)
- One roll of ribbon ($1.25)
- A bag of small ornaments or pine cones ($1.25)
Total cost: under $10
Cut the picks apart and insert them into the foam at varying angles for depth. Fill gaps with smaller elements. Add a substantial bow for visual weight. Done.
Nobody needs to know your gorgeous wreath cost less than a fast-food meal.
🌟 Steal This Look
- Paint Color: Dunn-Edwards Whisper White DEW340
- Furniture: slim console table with drawer for entryway wreath display staging
- Lighting: oversized black iron lantern pendant for front porch
- Materials: wired burlap ribbon, faux cedar picks, matte gold plastic ornaments, grapevine texture foam forms
I’ve made these wreaths with my kids on rainy November afternoons, and there’s something deeply satisfying about creating something genuinely beautiful from materials that cost less than a coffee—it’s the ultimate holiday magic trick.
✓ Get The Look
This post may contain affiliate links. Please see my disclosure policy for details.